


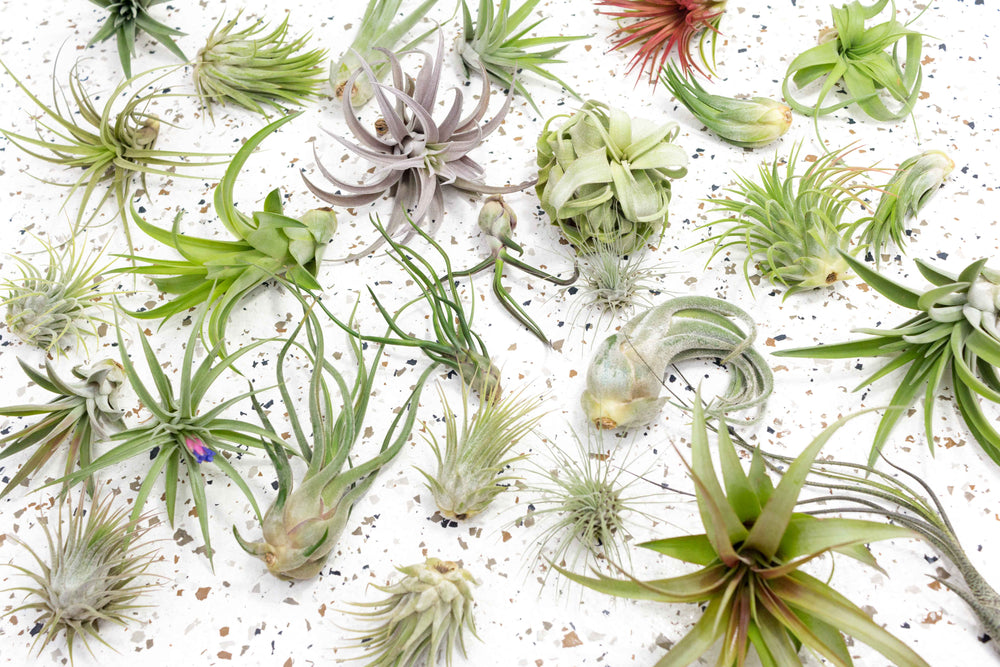


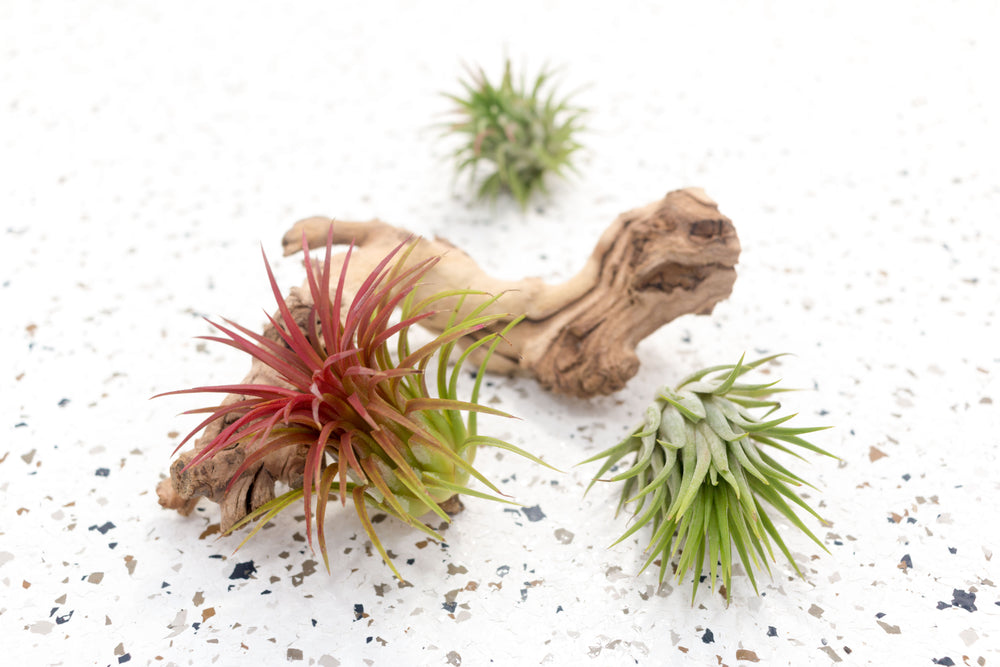


Tillandsia grow differently than most other house plants, so they can be confusing to a beginner. They are hardy, and require much less attention than other house plants. The following simplifies the instruction but you can scroll down for much more specific information.
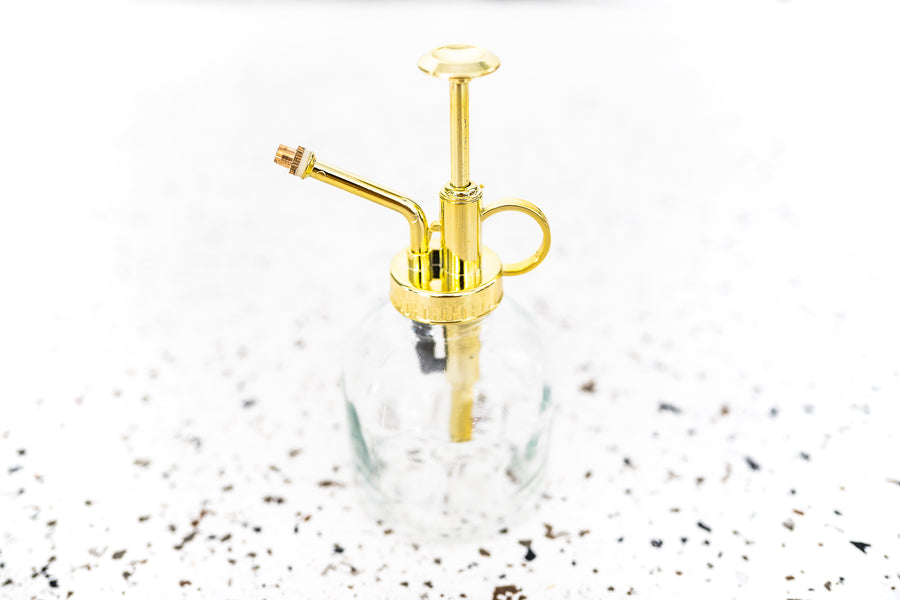
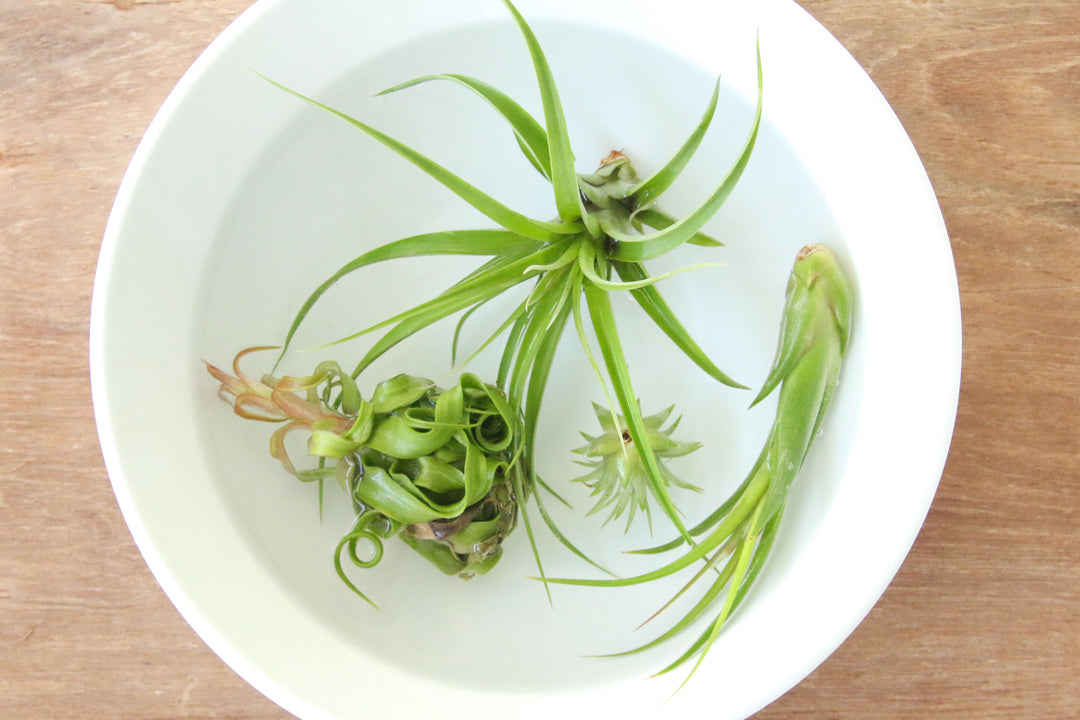
1. A 20-30 minute weekly soak is recommended for most air plant species with supplemental misting as needed.
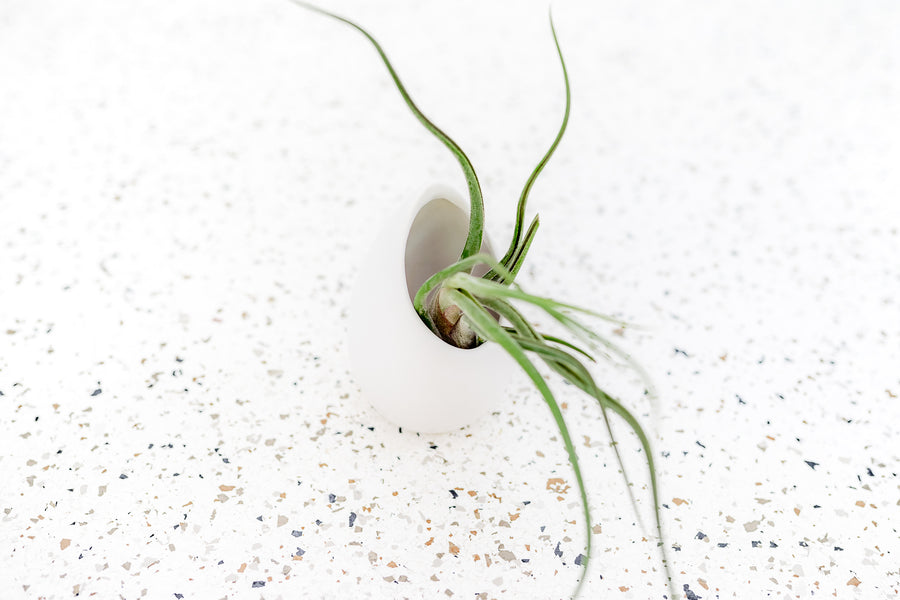
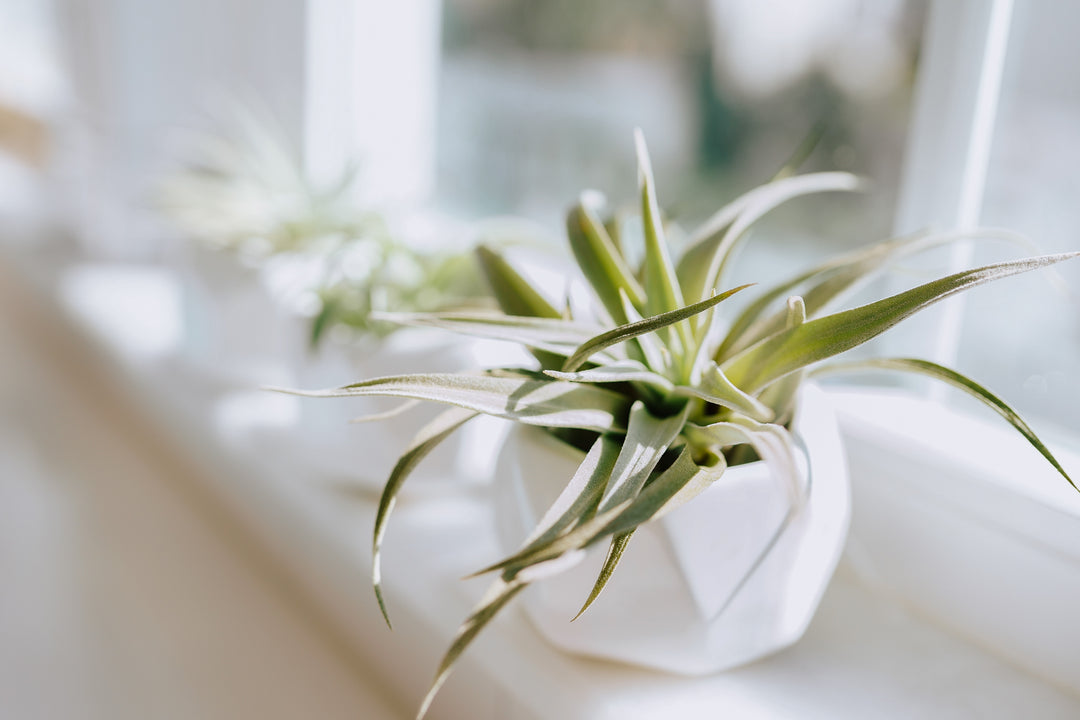
2. After watering, make sure the air plants have enough light and air circulation to dry within a few hours. Although air plants thrive in containers, it's advisable not to showcase them in enclosed ones. It's important to ensure they are completely dry before placing them back in a container that might limit air circulation.
3. Give them bright, indirect sunlight or consistent full-spectrum fluorescent home or office lighting.
4. Protect them from frosts as air plants prefer warm conditions between 50-90 degrees Fahrenheit. If you are growing them indoors and the air is dry, you will need to submerge the plant in water about 7-10 days and mist them every few days between soaks.
5. Never plant air plants in soil!
6. Fertilizing monthly will help promote blooms and pups and will give your air plants the nutrients they need to thrive. Our one-year supply of air plant fertilizer is available here or try our Ready-to-Use premixed solution.
Discover which of the Tillandsia align with your lifestyle through our quiz!

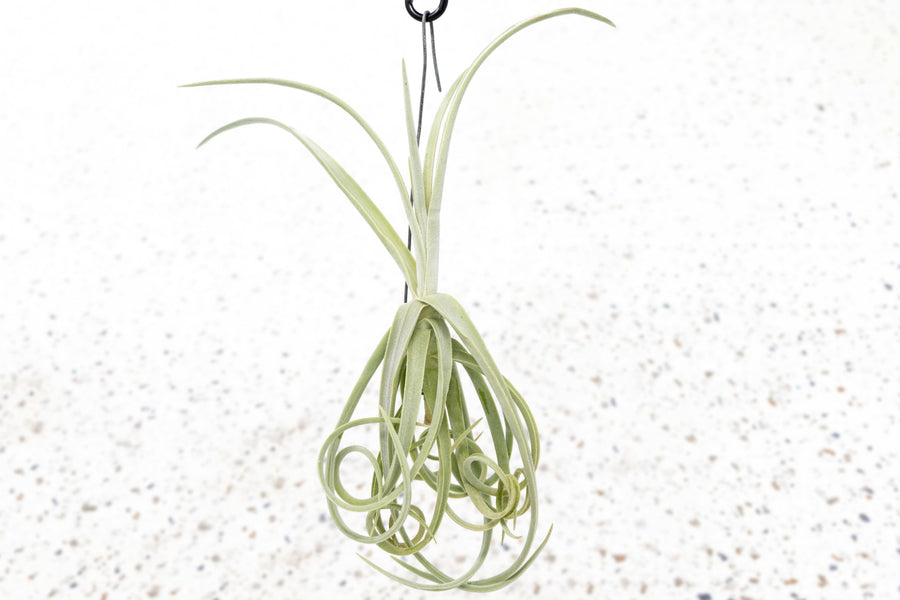
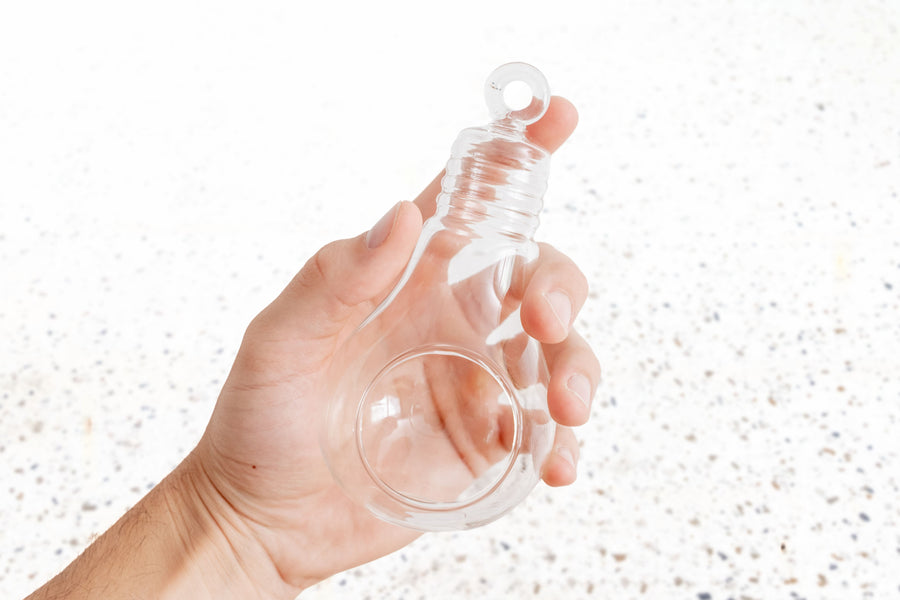
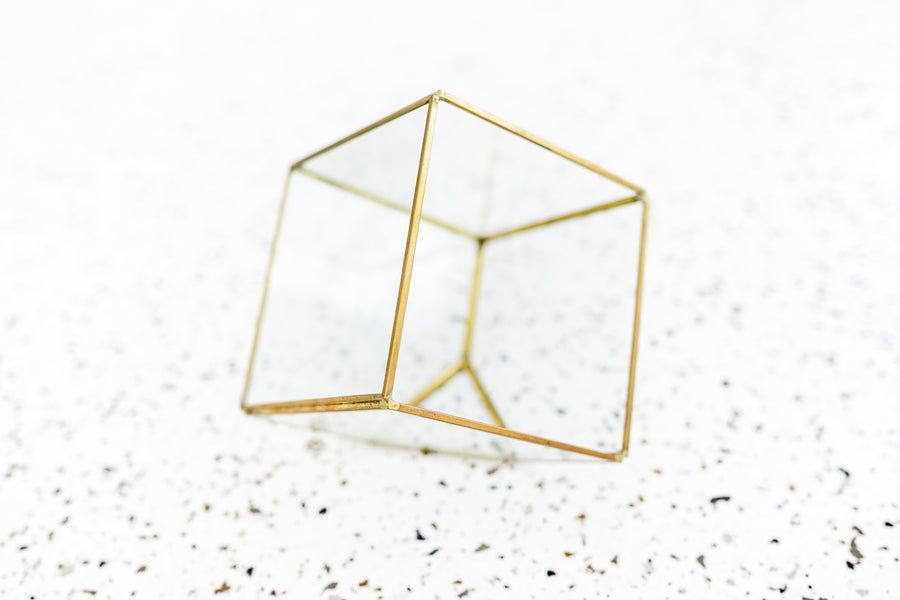
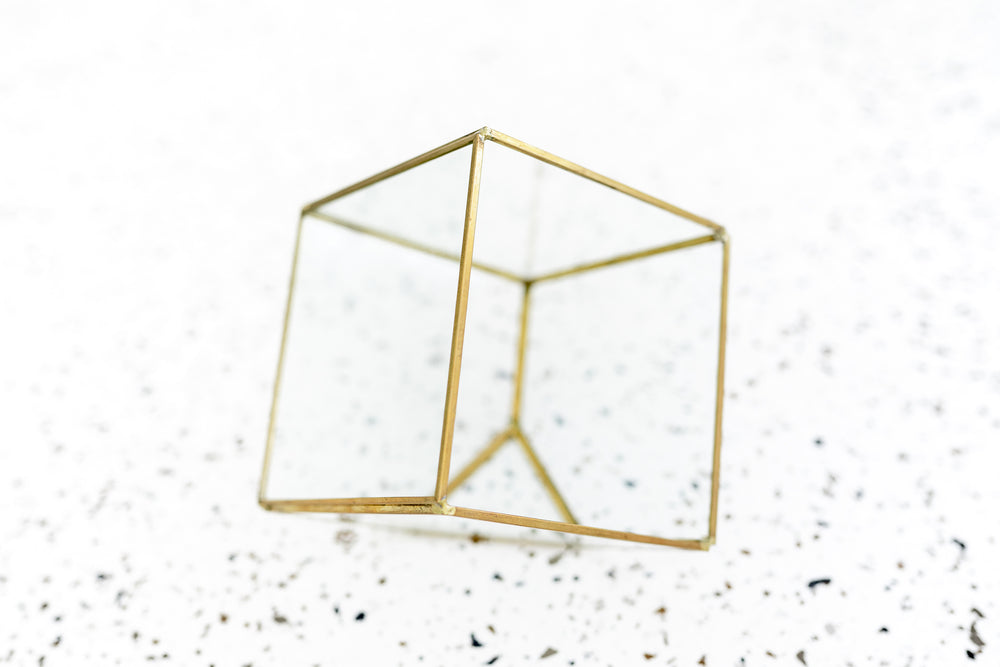
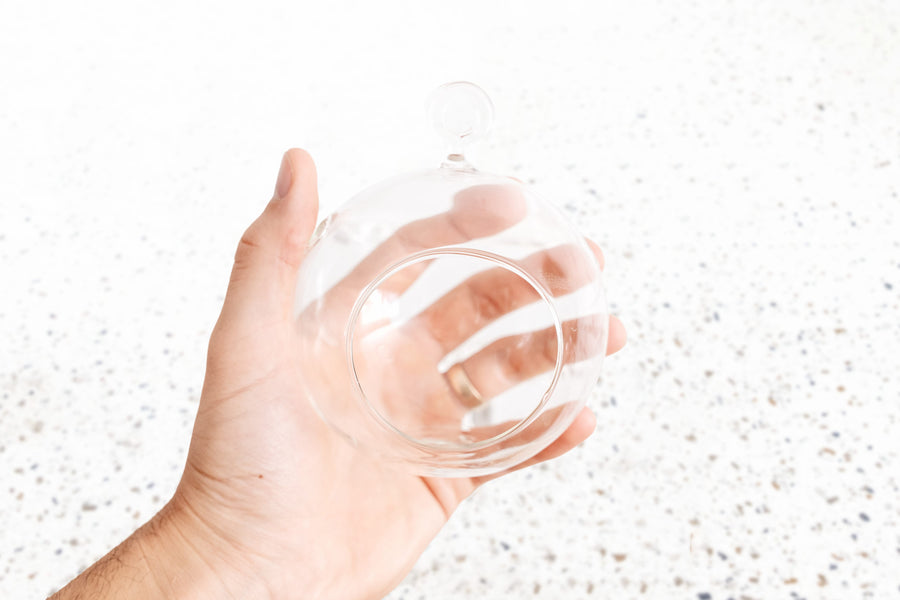
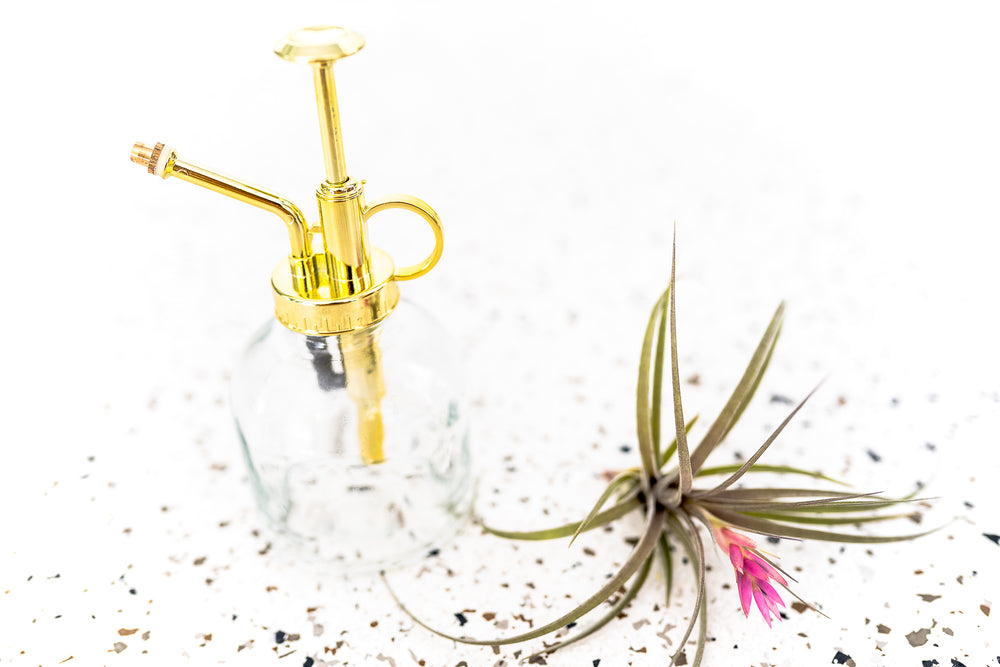
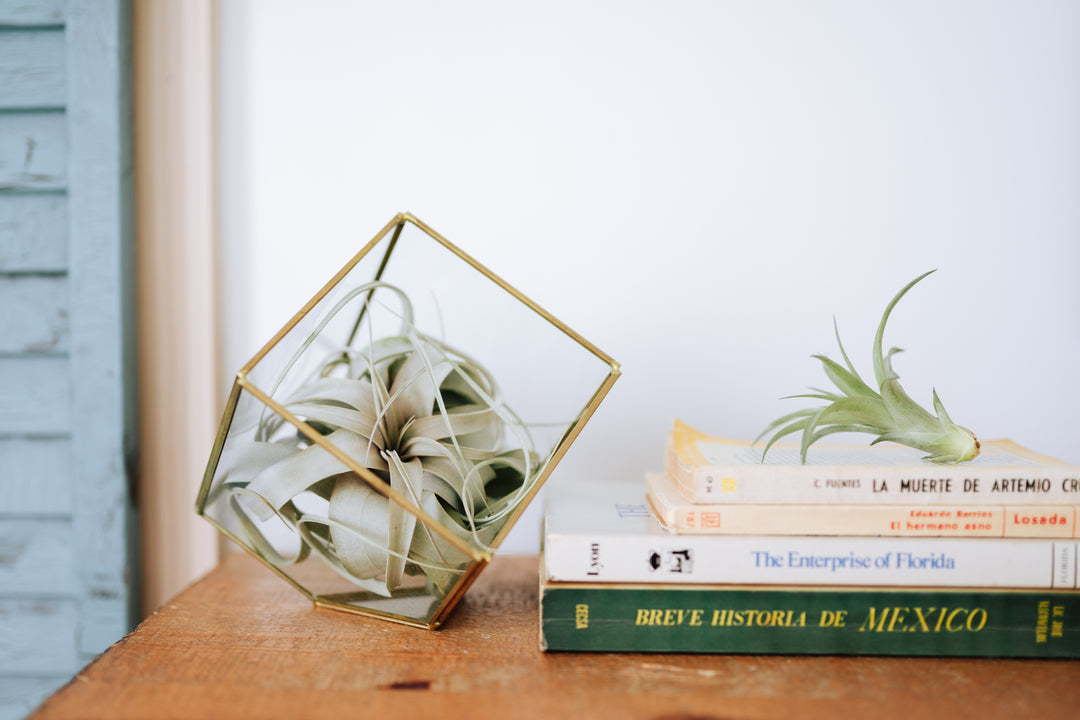
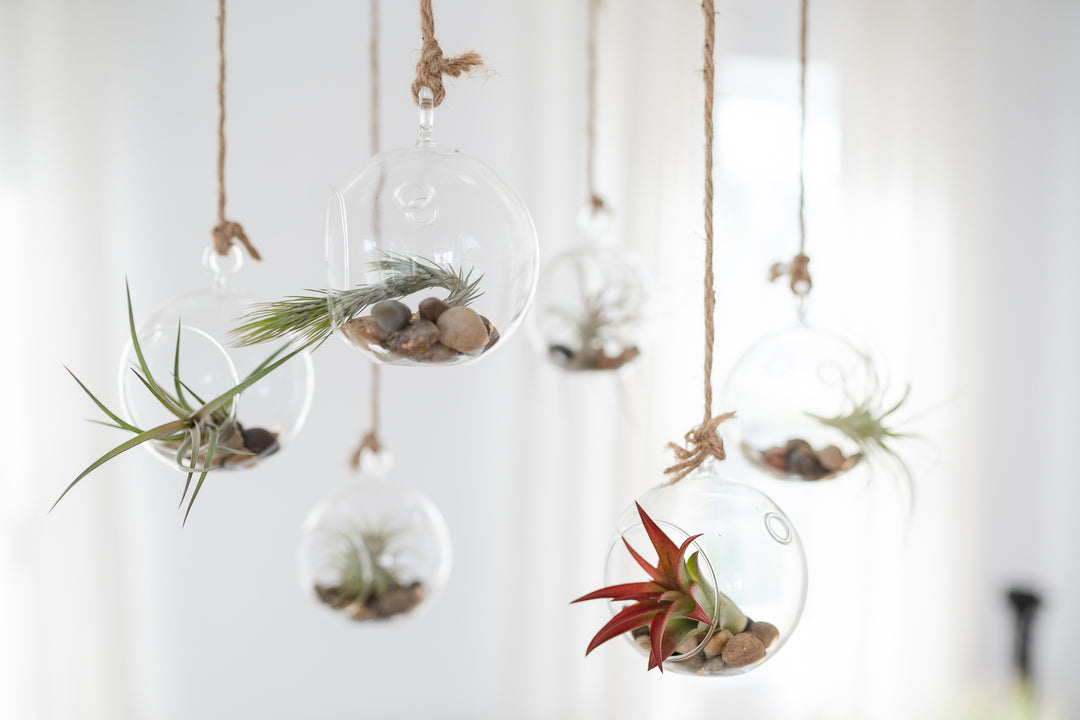
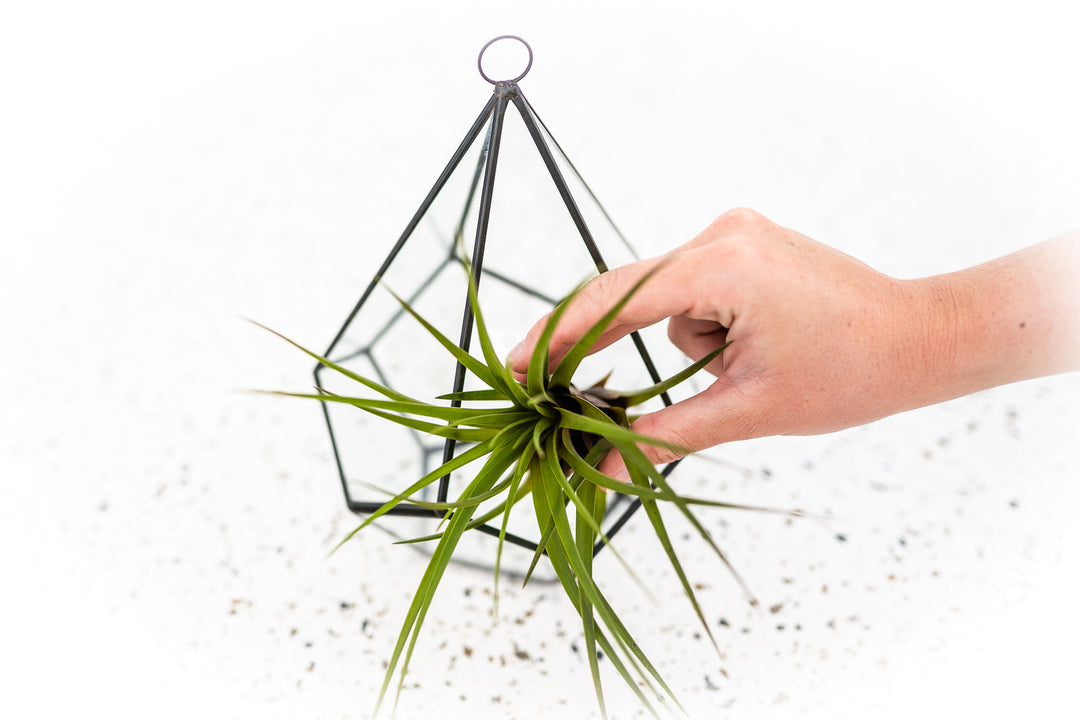
Air plants in glass globes have become so popular that I get calls all the time about caring for them. Follow these simple instructions to enjoy your glass-surrounded plant for many years. If you are looking for glass globes, find many unique designs in our shop.
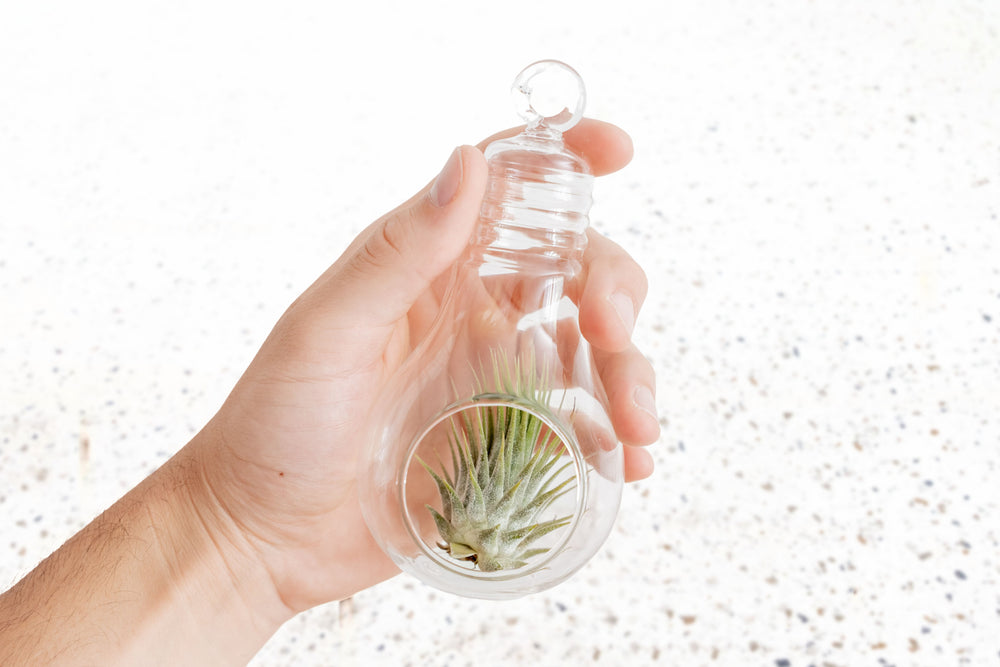
1. The larger the globe, the more care you can give your plant! Water your plant when you first receive it by soaking 20-30 minutes. Take note of the size and color and enjoy observing the changes over time.
2. Allow your plant to dry completely before placing it in the globe. Make sure your terrarium allows the plant to get plenty of air circulation. Note that the smaller the globe, the less circulation, and the longer the plant will hold moisture. If not properly dried, this will cause the plant to rot!
*We don't recommend fully closed containers.
3. Remember what your plant looked like after soaking? If it has lost that happy healthy look, take it out and soak it for 30 minutes to an hour, shake, allow it to completely dry, and replace it in the globe.
4. Do not place your globes directly in front of a window where they get direct sun. Remember the glass will intensify the sunlight and the heat! Indirect light is best and some will even grow in low to moderate light.
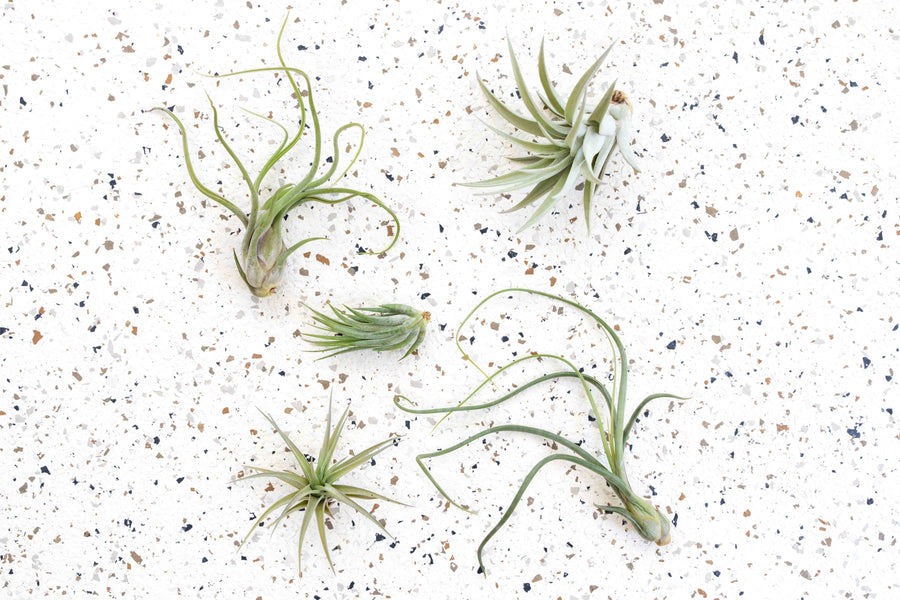
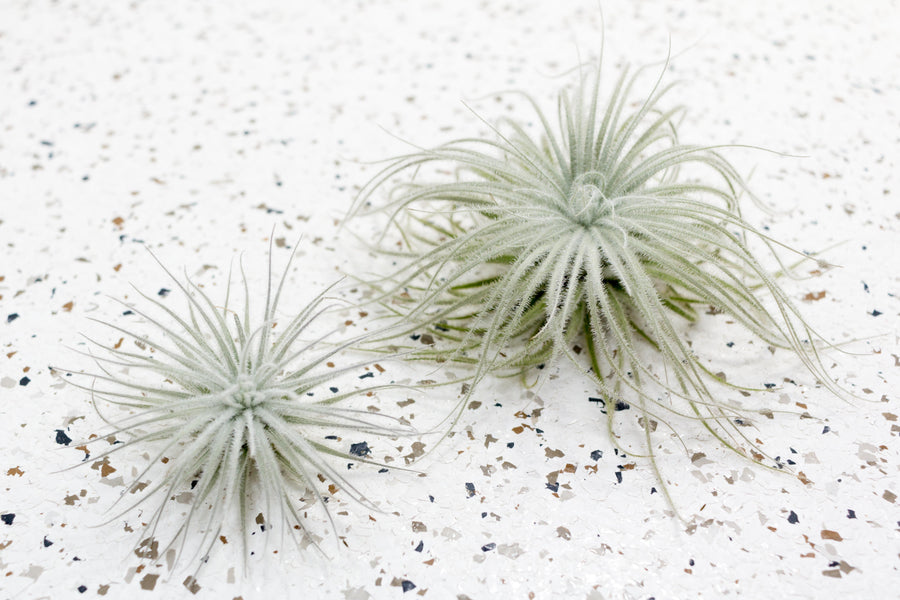
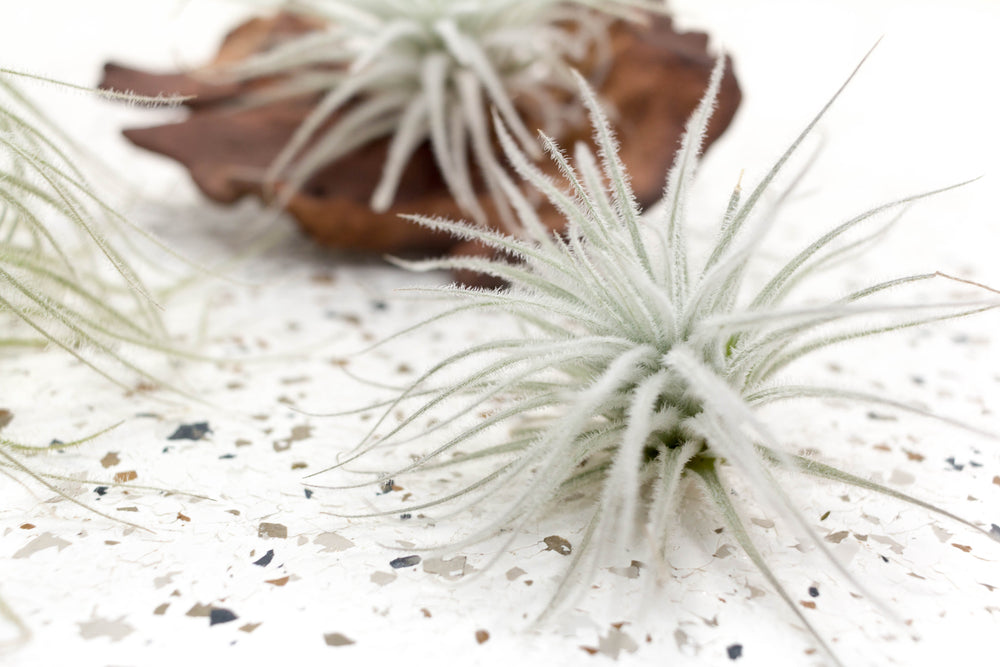
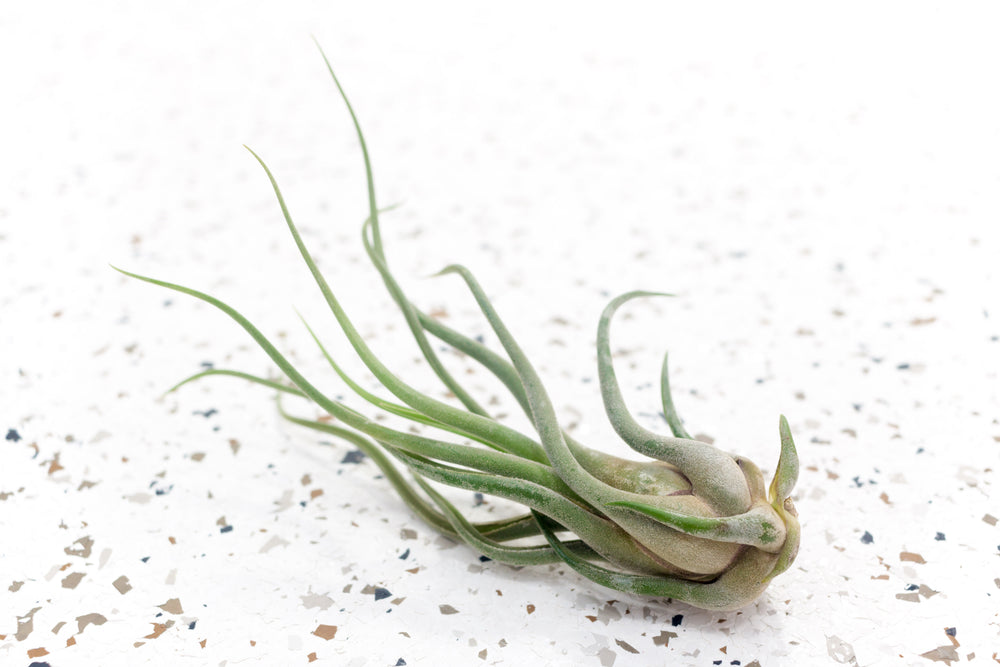
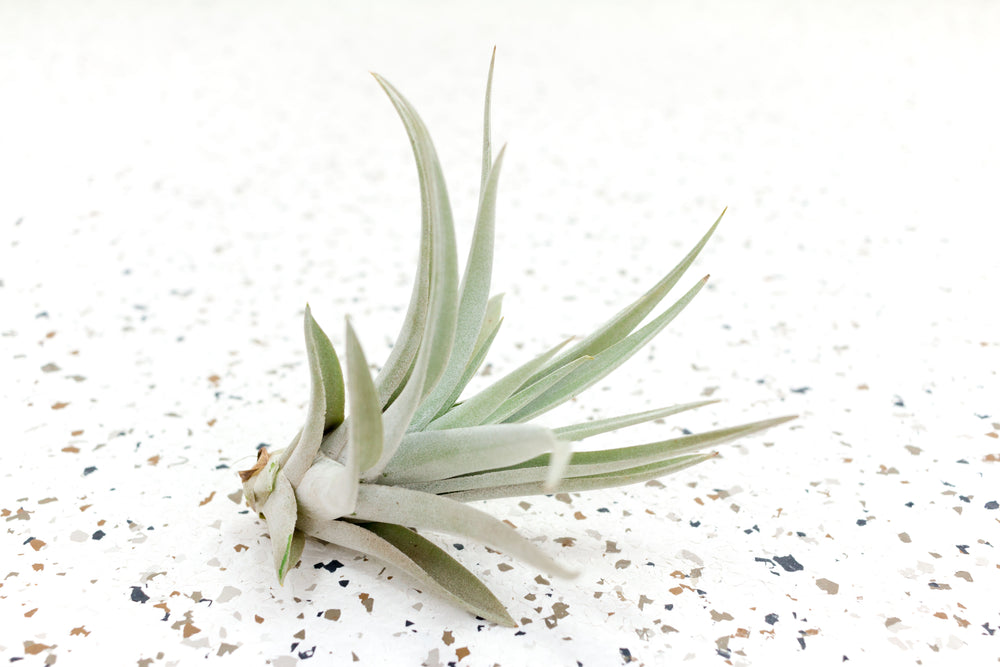
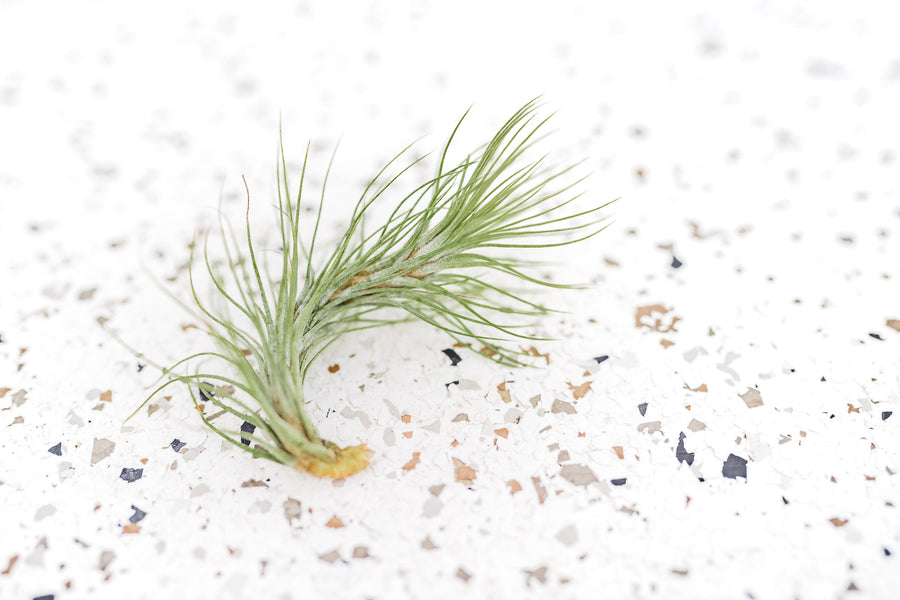
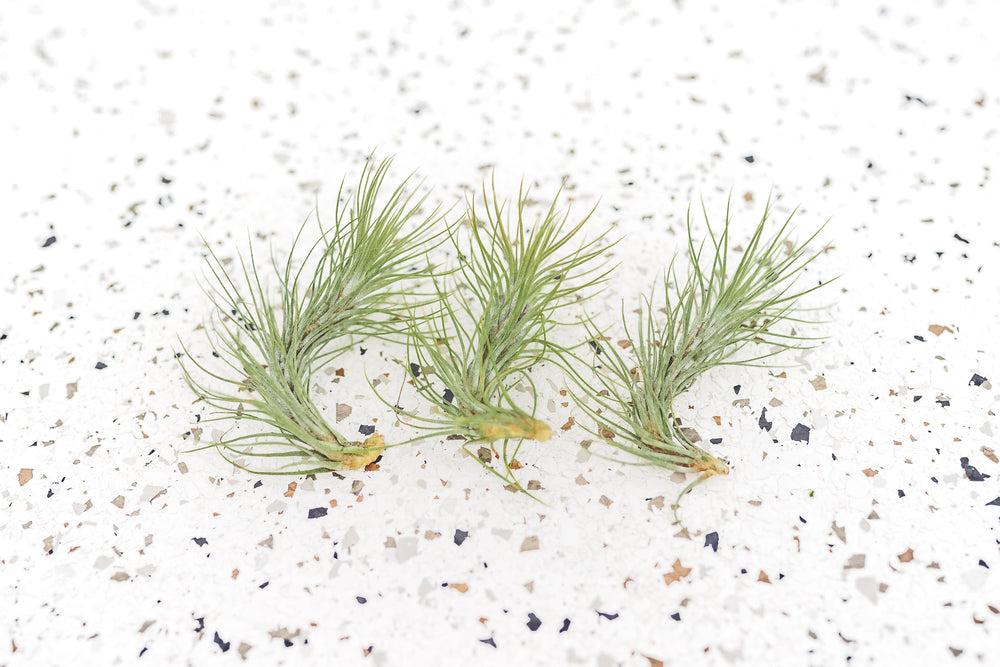
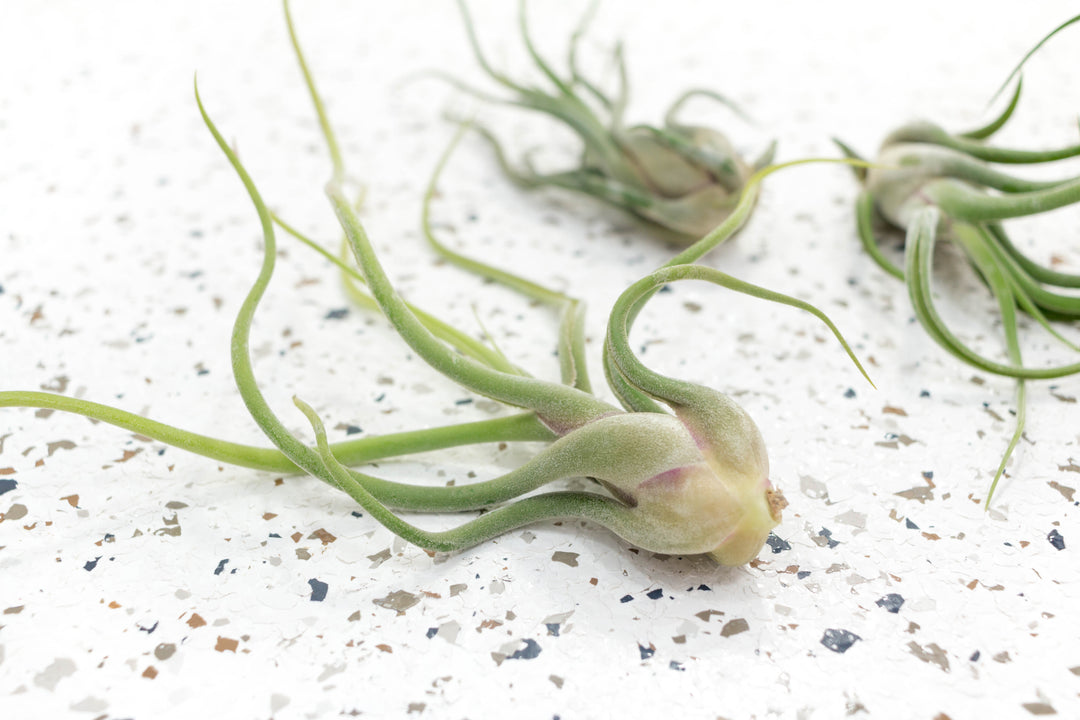
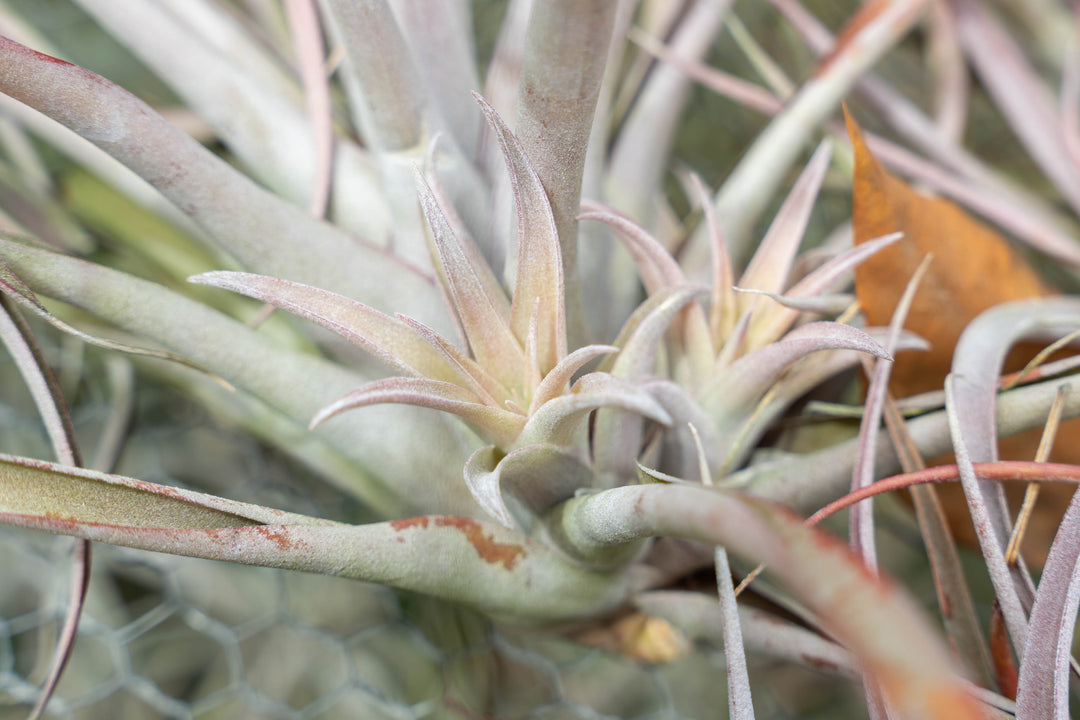
Thoroughly wet your Tillandsia a couple times per week; more often in a hot, dry environment and less often in a cool, humid one. In conditions of extreme drying and consequent moisture loss, Tillandsia cannot replace water from their roots like a terrestrial plant, or draw on internal reserves like a succulent. You may notice that your new air plants appear to be fuzzy. These are trichomes, a coating of special cells which helps air plants absorb water and nutrients.
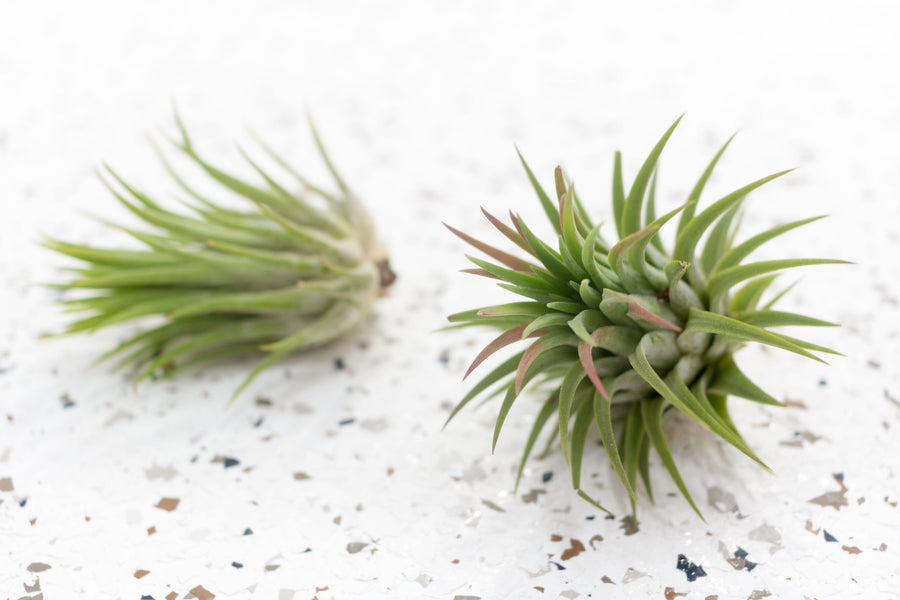
Bromeliad Tillandsia have a life cycle of one plant growing to maturity and blooming. Before, during or after blooming (depending on the species) your plant will start producing offsets (pups), most plants will produce between 2-5 pups. Each plant will flower once in its lifetime!
Flowers can last from several days to many months, depending on the species, and different species bloom at different times depending on its care and environment. You can expect blooms from mid-winter through mid-summer depending on the plant.
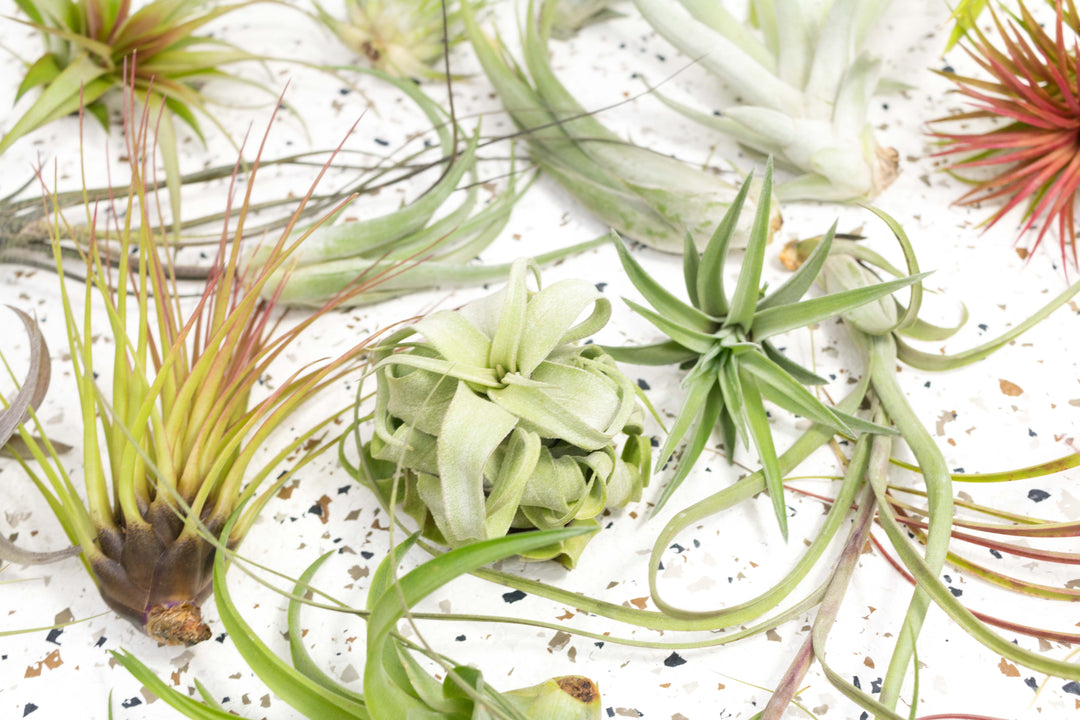
Some people prefer to not remove the pups which will naturally develop into a clump or ball Tillandsia. If you leave your plant to clump, just remove the leaves of the mother plant as she starts to dry up. Simply pull the leaves out with a gentle sideways tug, if the leaves resists, it's not dead yet, so trim any dried areas instead with our special Tillandsia Pruning Scissors. Once you've fully removed the mother plant, the gap that's left will quickly be filled in by the other plants growing and spreading!
The water you use is important! Avoid using distilled water. Softened water is a not good either because of the high salt content. Filtered water, tap water (that has sat long enough for the chlorine to dissipate), and bottled water are all fine. Pond water and aquarium water works well, too. In fact, they love the extra nutrients that the fish provide!
Outdoor Tillandsia may never need to be watered if you live in the humid Southeast or Florida. Indoors, the hotter and drier the air, the more you need to water. Plants should be given enough light and air circulation to dry in no longer than three hours after watering. Wind can be a detriment as the plant dries too quickly. If the plant dries within a very short period of time, it is not hydrating at all. Spray misting is insufficient as the sole means of watering but may be beneficial between regular waterings in dry climates to increase the humidity.
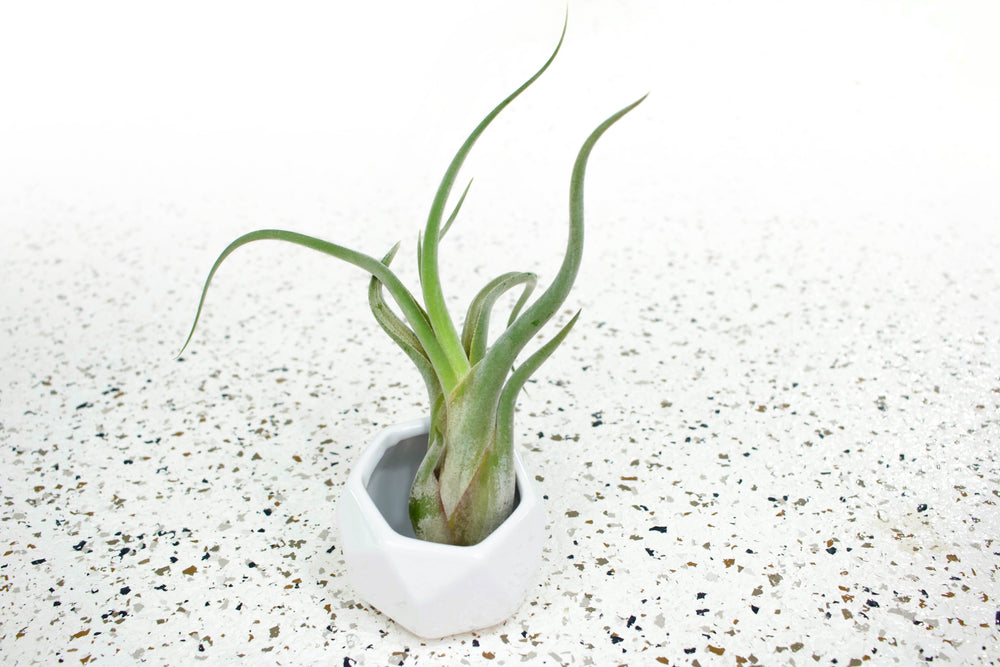
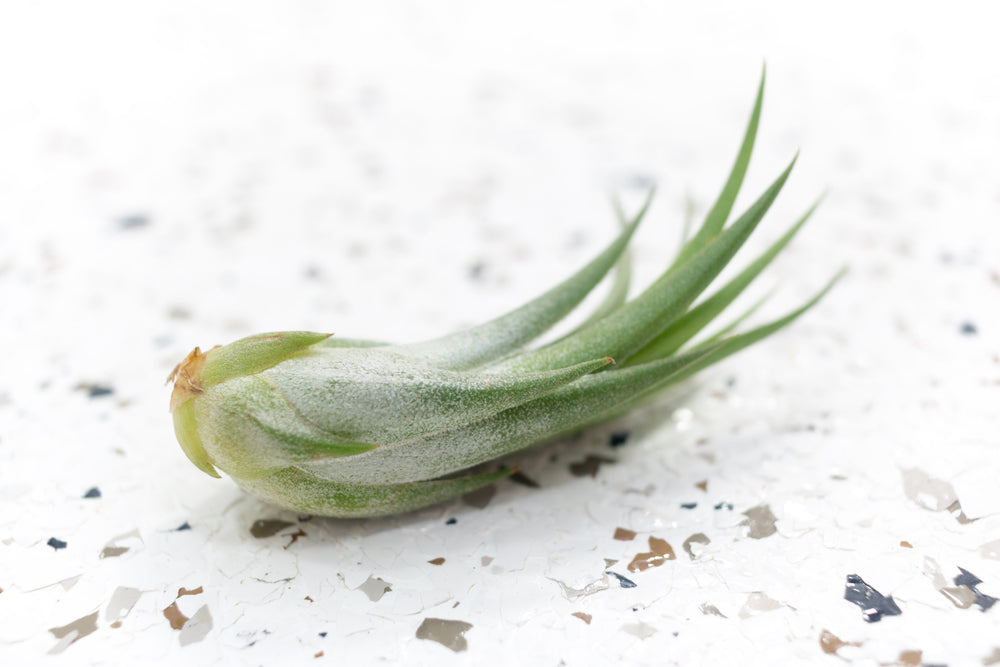
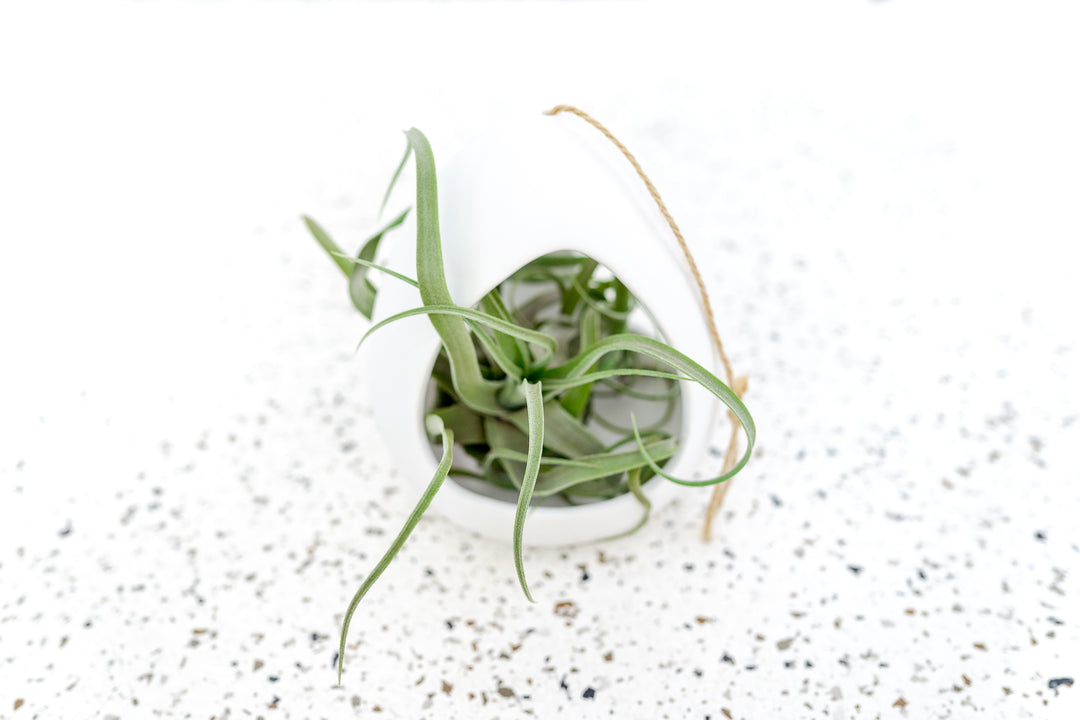
If the plant is in a shell, be sure to empty the water out. Tillandsia will not survive in standing water! Under-watering is clear when there is an exaggeration of the natural concave curve of each leaf. After wetting your plants thoroughly, turn them upside down and gently shake them.
It is much better to water in the morning than at night. Air plants absorb the Carbon Dioxide from the air at night instead of the daytime. If the plant is wet, it does not breathe therefore, unless it can dry quickly at night, plan on morning baths. Find out more about watering in our blog, How to Water Air Plants.
Wholesale Air Plants for Your Business, Market or Stand
Save with automatic discounts up to 15%! Mix and match wholesale items to get your first discount once the cart reaches $250 plus recieve free shipping to your store!
Following each watering, Tillandsia should be given enough light and air circulation to dry in three hours or less. Do not keep plants constantly wet or moist! Do not allow them to dry too quickly though. 1-3 hours is optimum. Also if the air is hot, a breeze acts to cool the plant and keep it from becoming overheated.
Full-spectrum artificial light (fluorescent) is best. The plant should be no further than 36" from the fluorescent tubes and can be as close as 6". A four-tube 48" fixture works well. Bulbs can be any full spectrum type Gro-Lux, Repta-Sun, Vita-Lite, etc. Light should be set with a timer, 12 hours per day.
The optimum temperature range for Tillandsia is 50-90 degrees Fahrenheit. I have kept my plants outside during 40 degree Fahrenheit weather but only for a night or two knowing it would be warm during the day. Most Tillandsia will die with frost.
Learn here how to acclimate your plants to the outdoors after their indoor winter holiday.

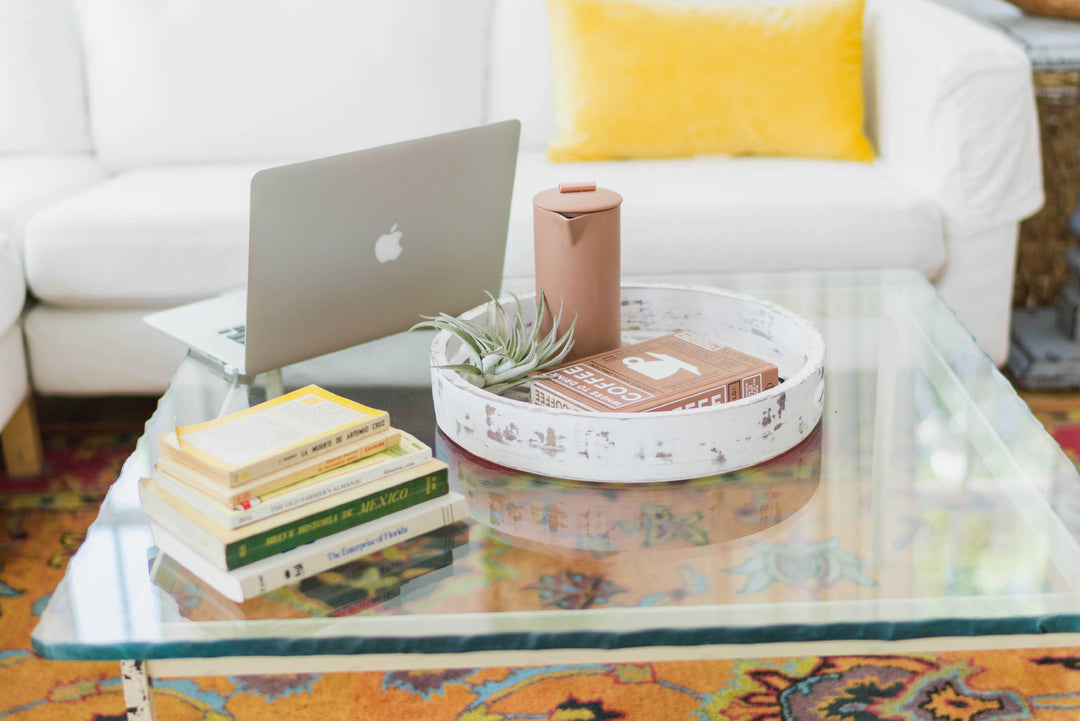
Air Plants for Your Home
Save up to 70% versus big box stores and other retailers when you buy from Air Plant City.
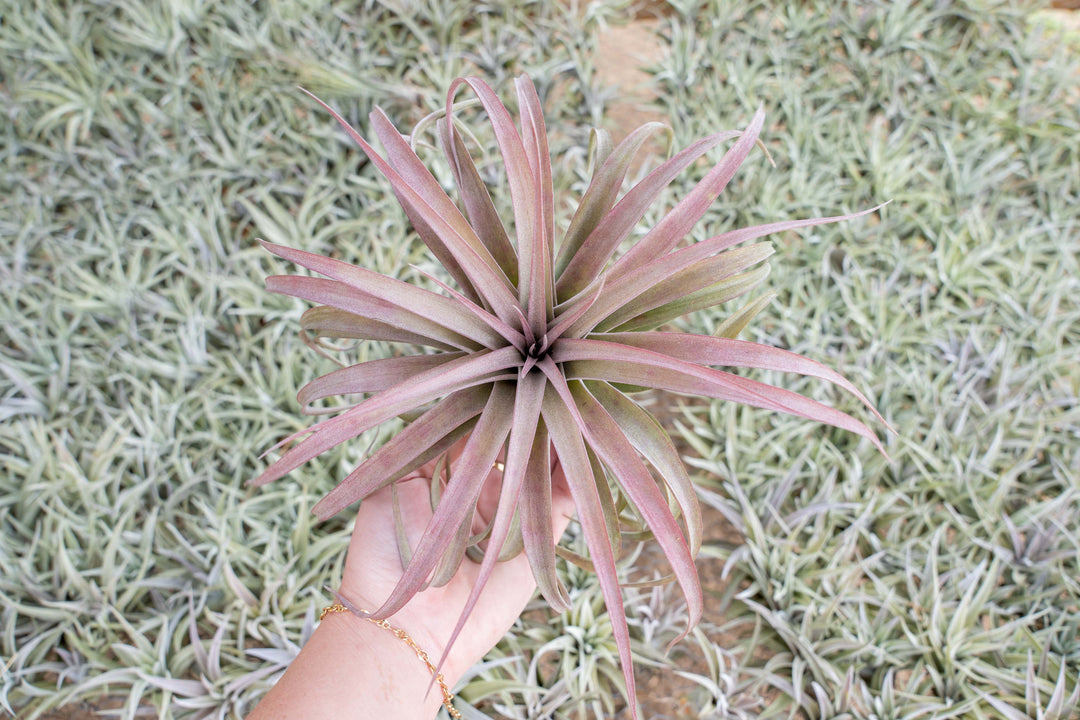
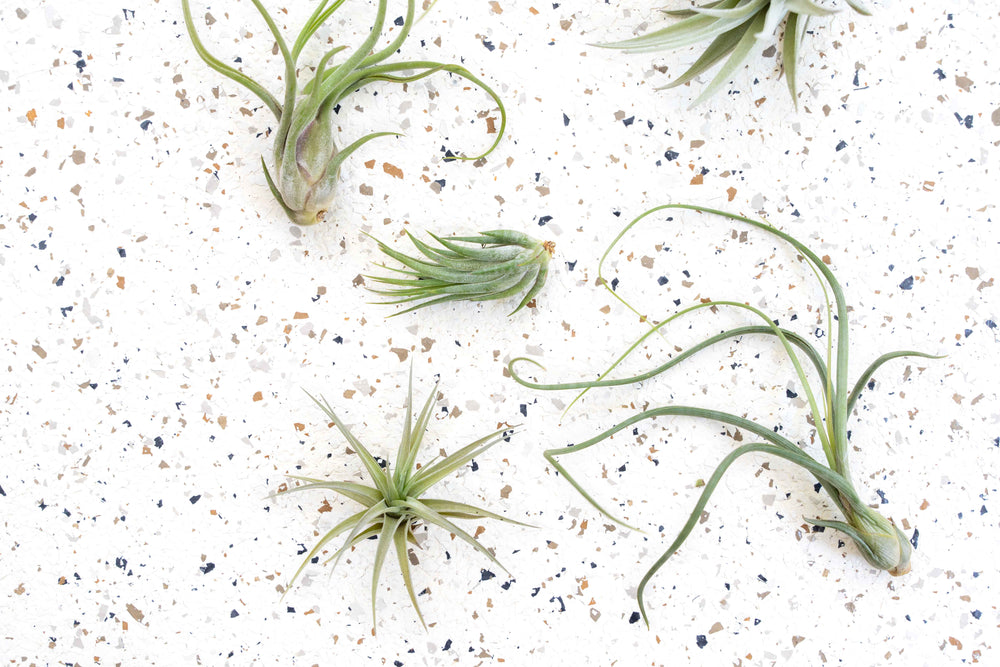
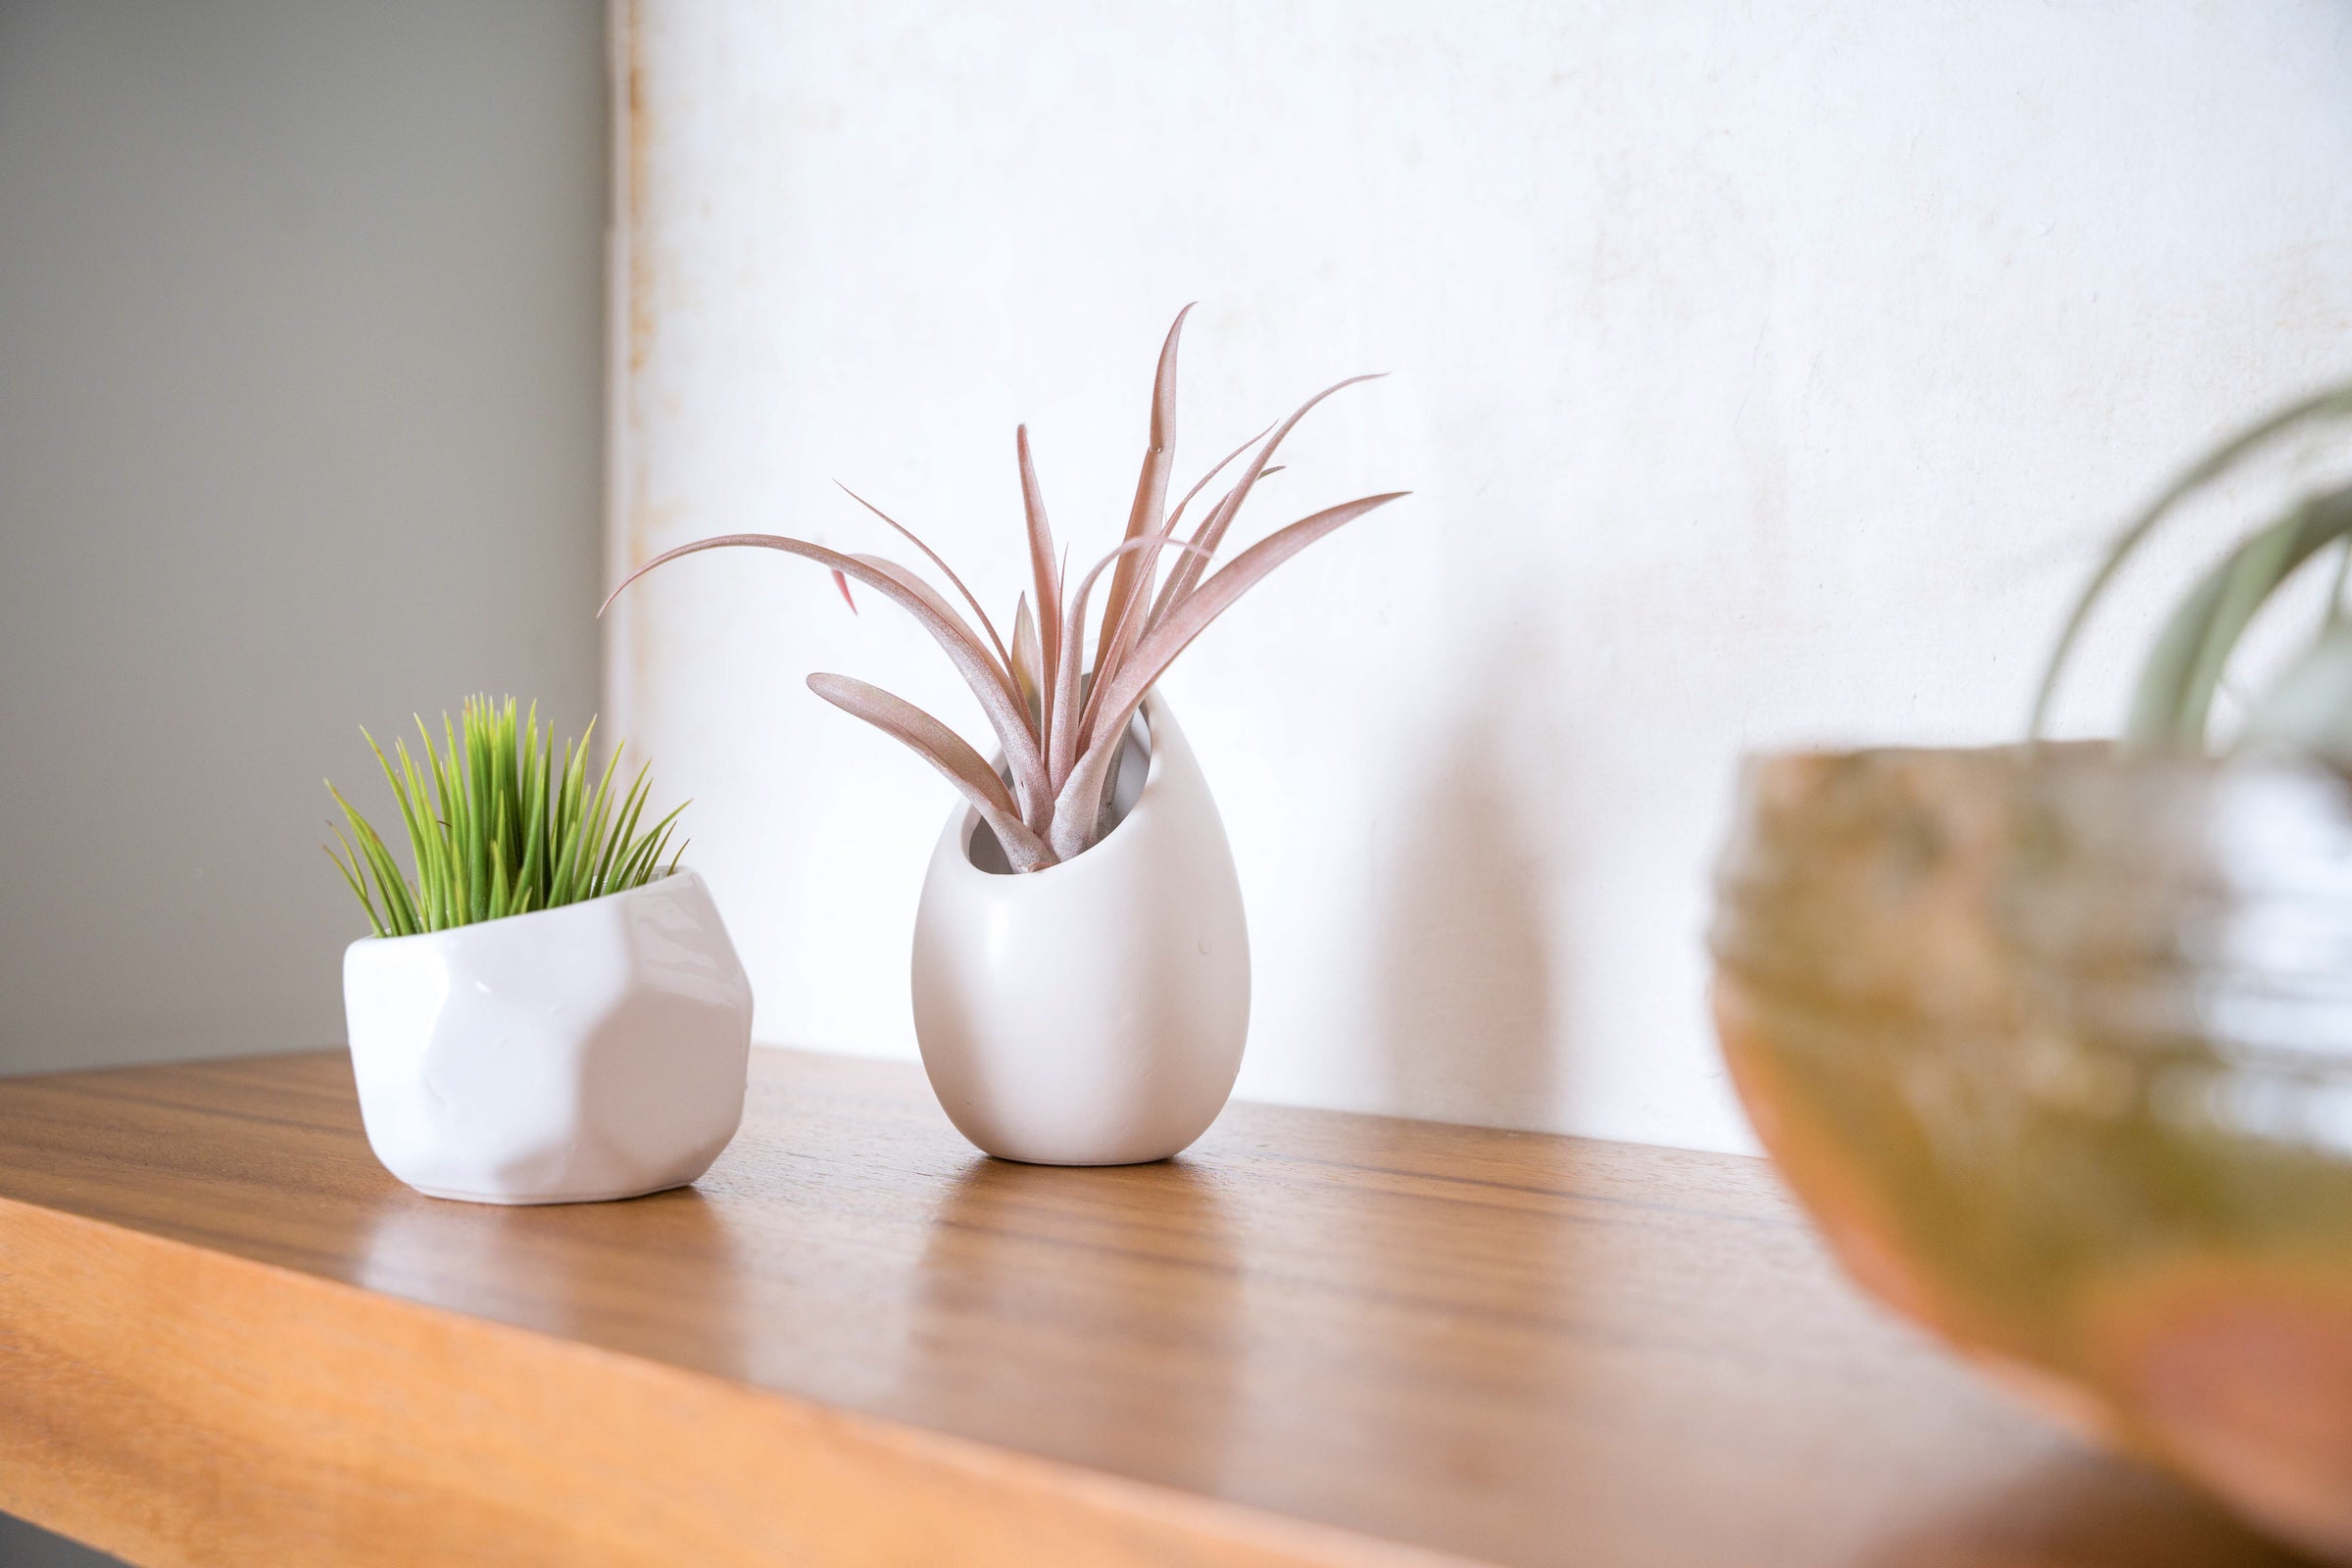
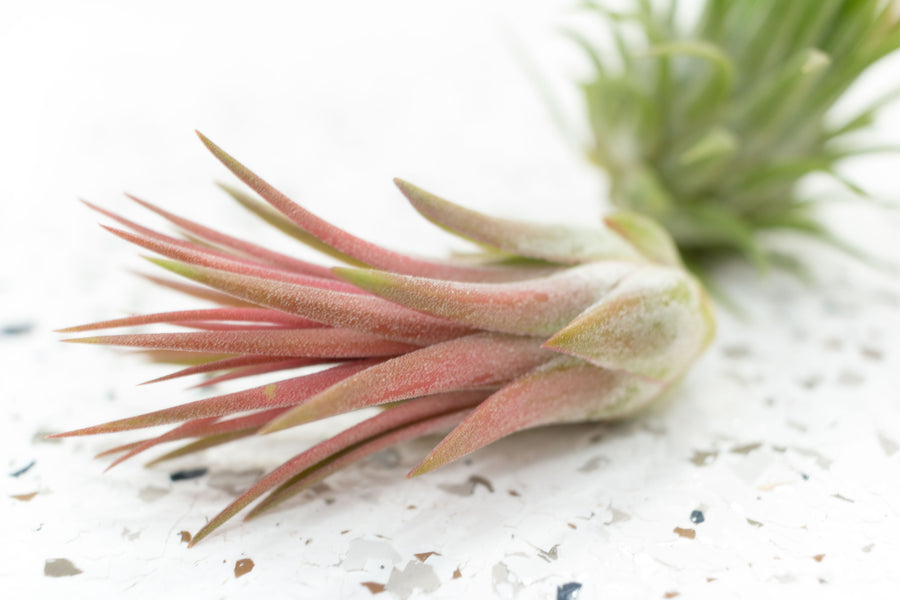
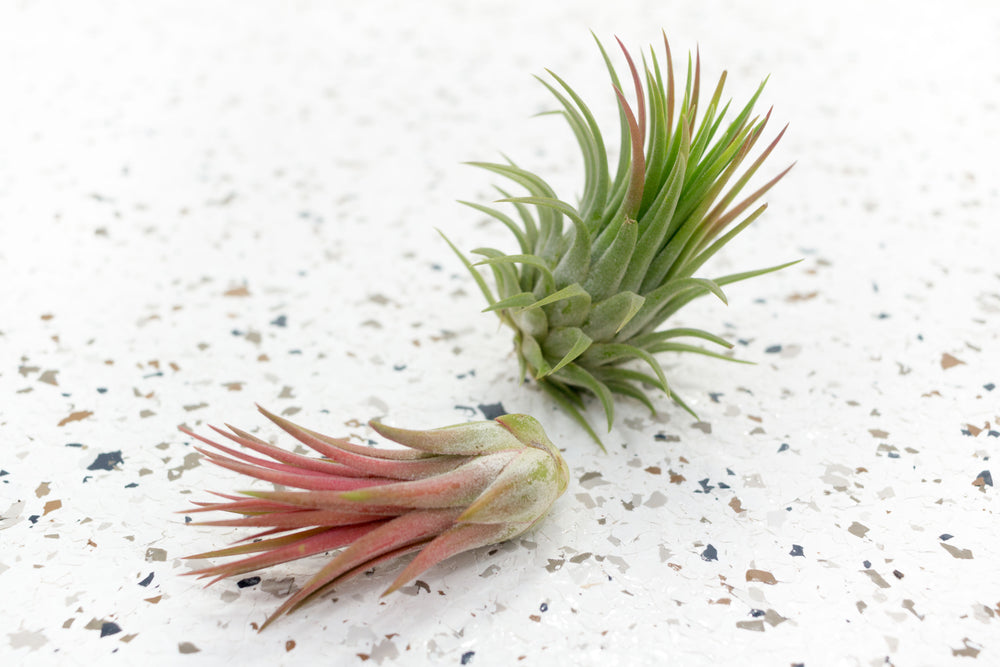
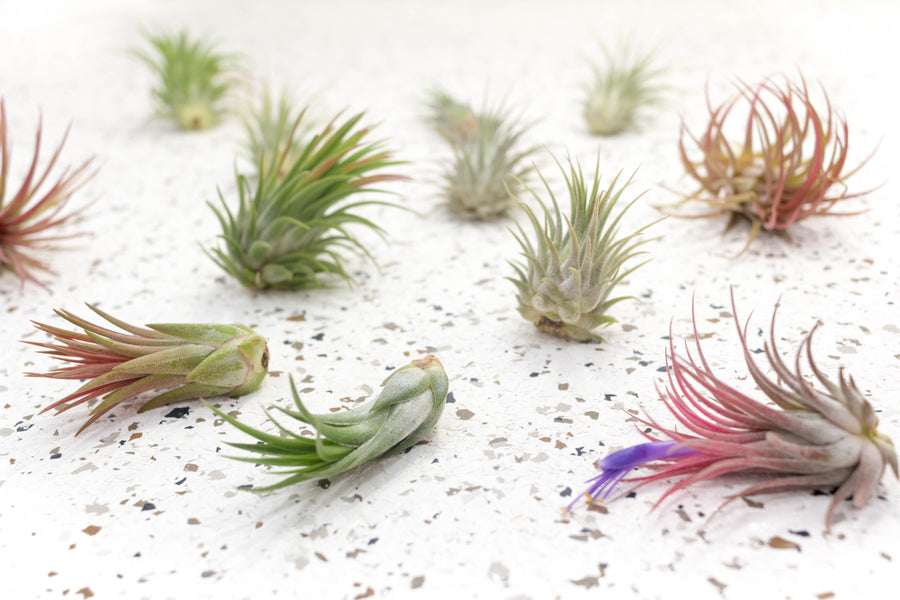
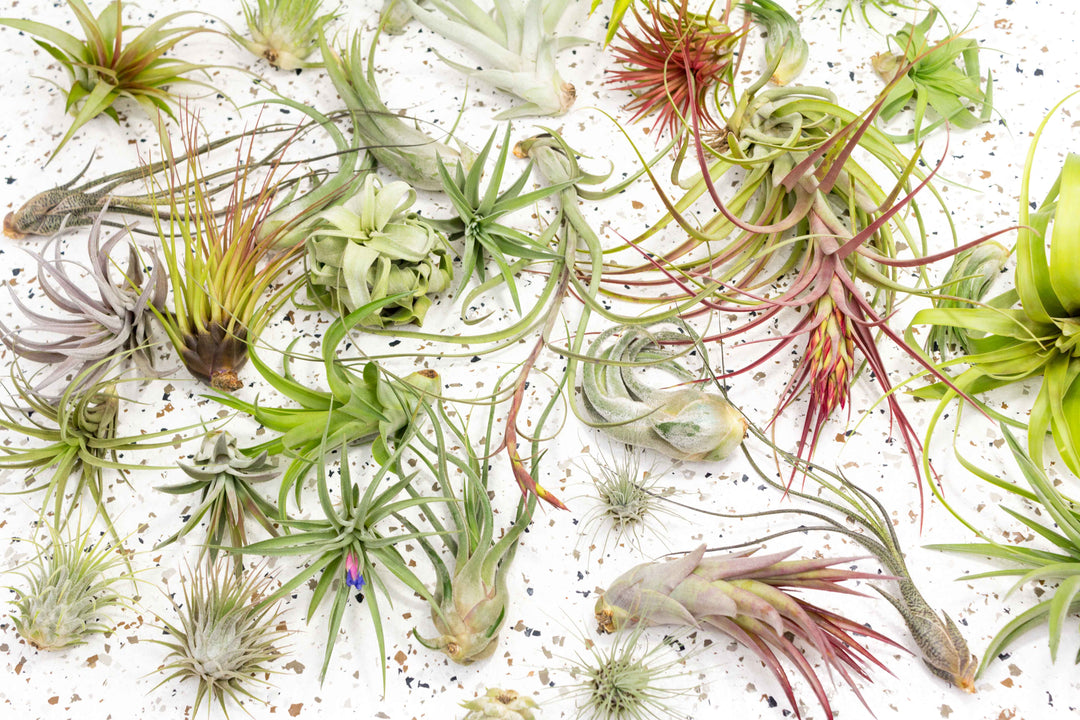
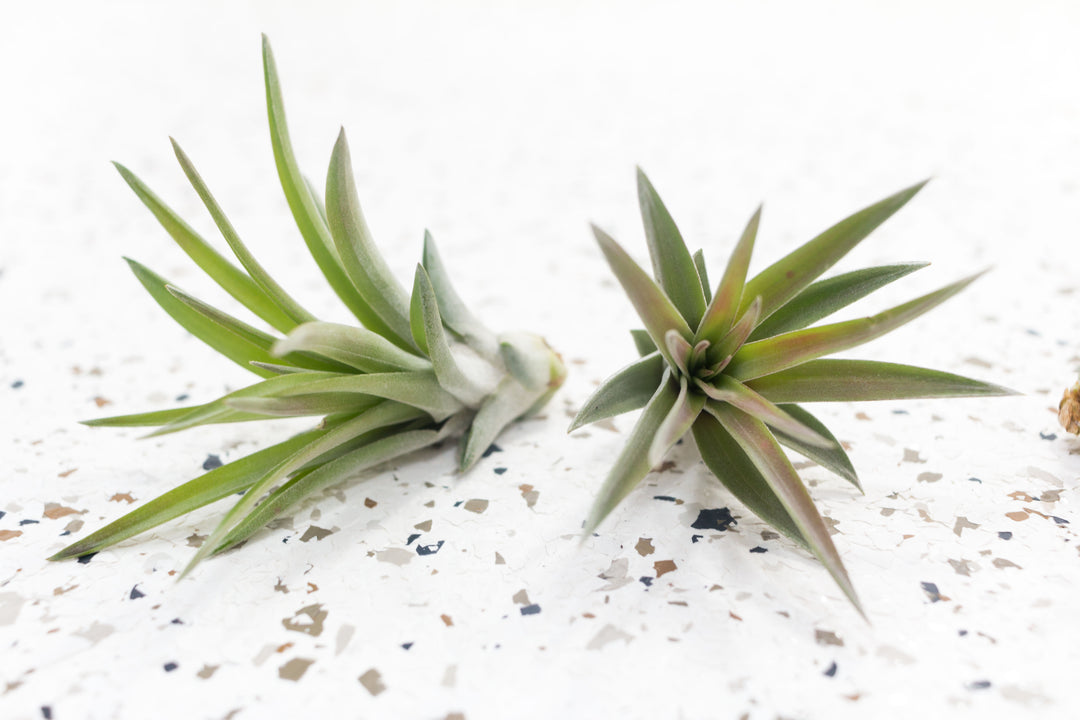
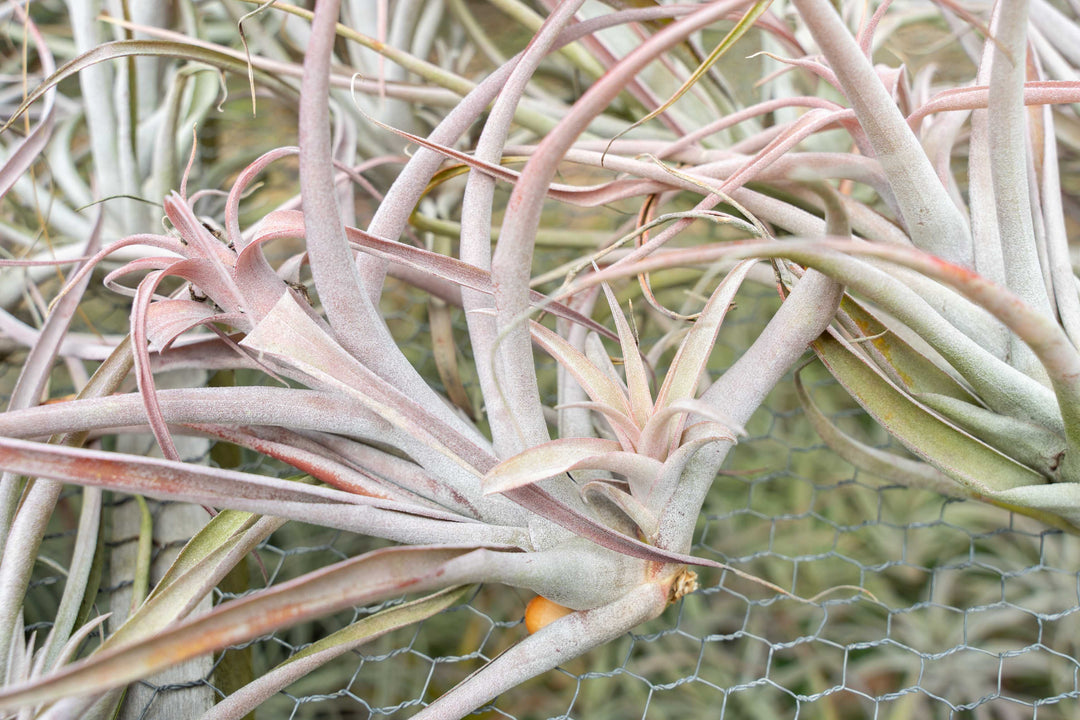
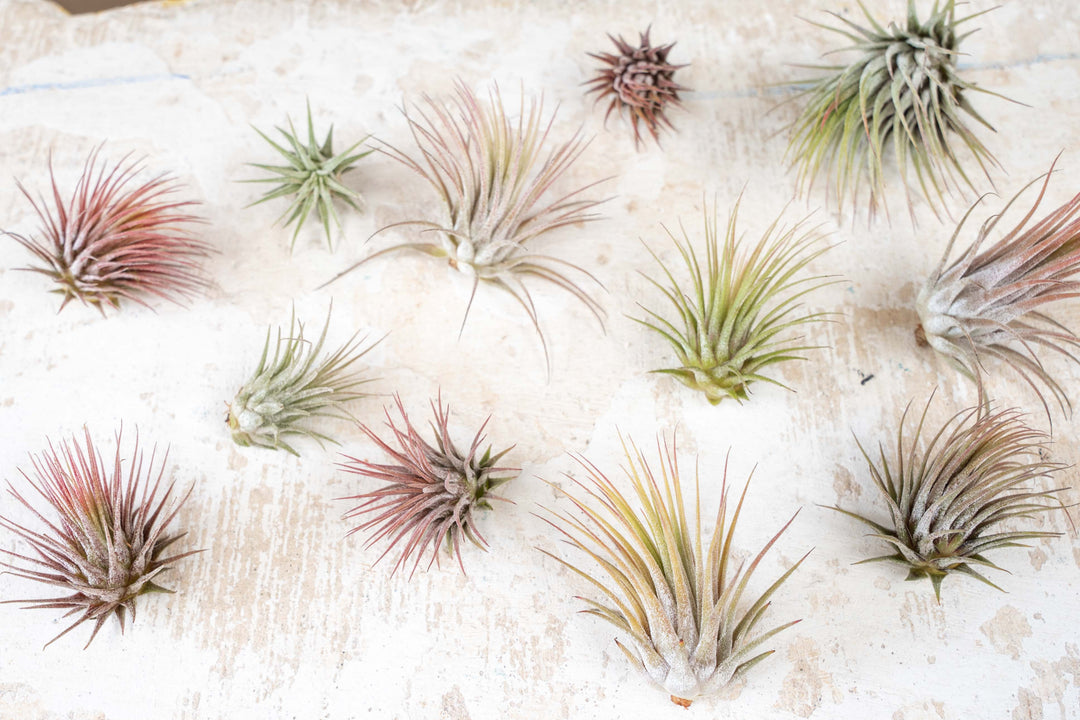
Air plants begin their life either as a pup or seedling. An individual plant may live for 3 to up to 15 years before moving through the following stages. Depending on the season (mainly rainy versus dry), the plant's foliage may fluctuate between greens and brighter reds and oranges. This color change is known as "blushing".
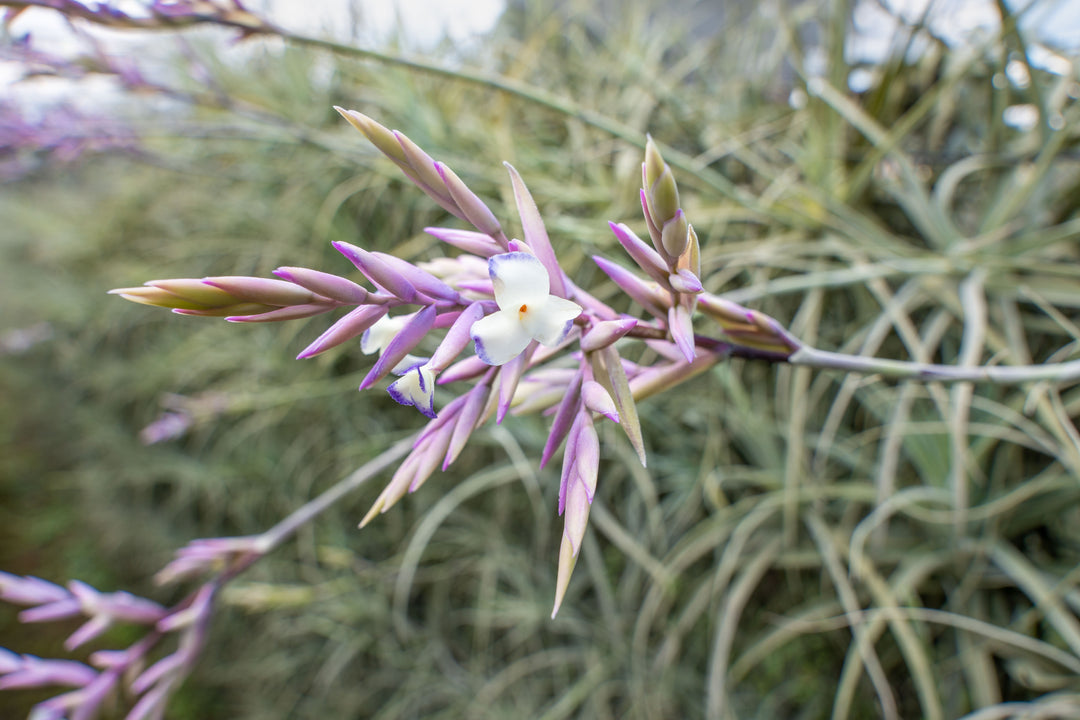
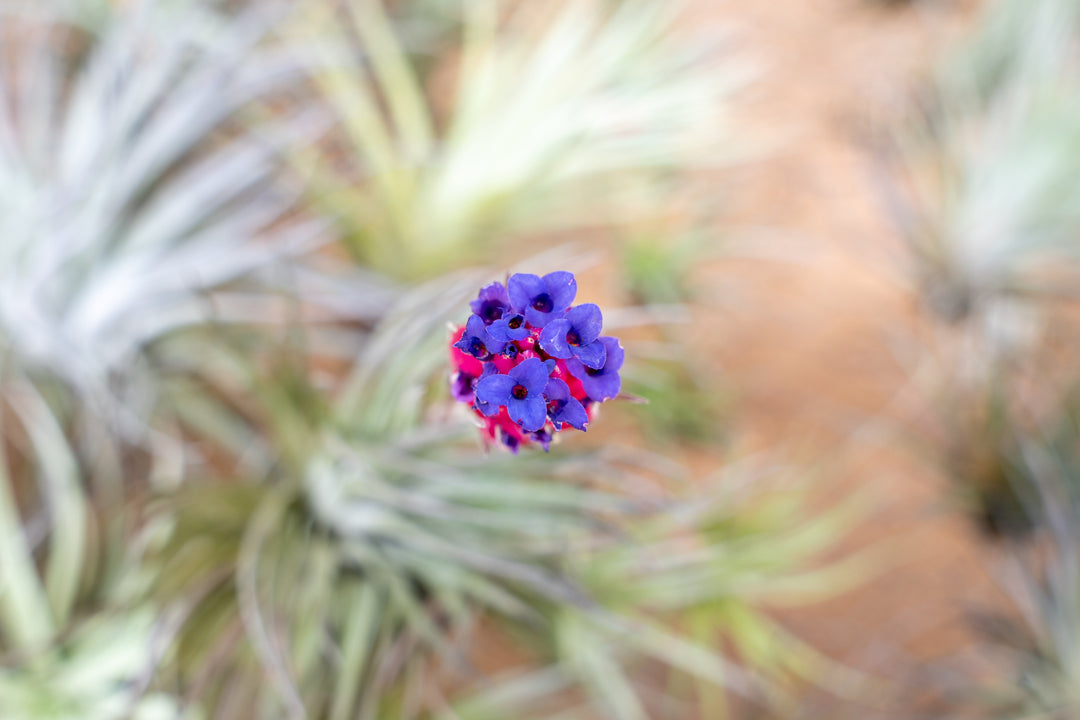
Air plants bloom one time in their life. Most air plants blooms' have purple petals. The amount of flower bracts and length of bloom stalk depends on the species. Pollinators such as hummingbirds, bees, butterflies and moths travel between the blooming plants.
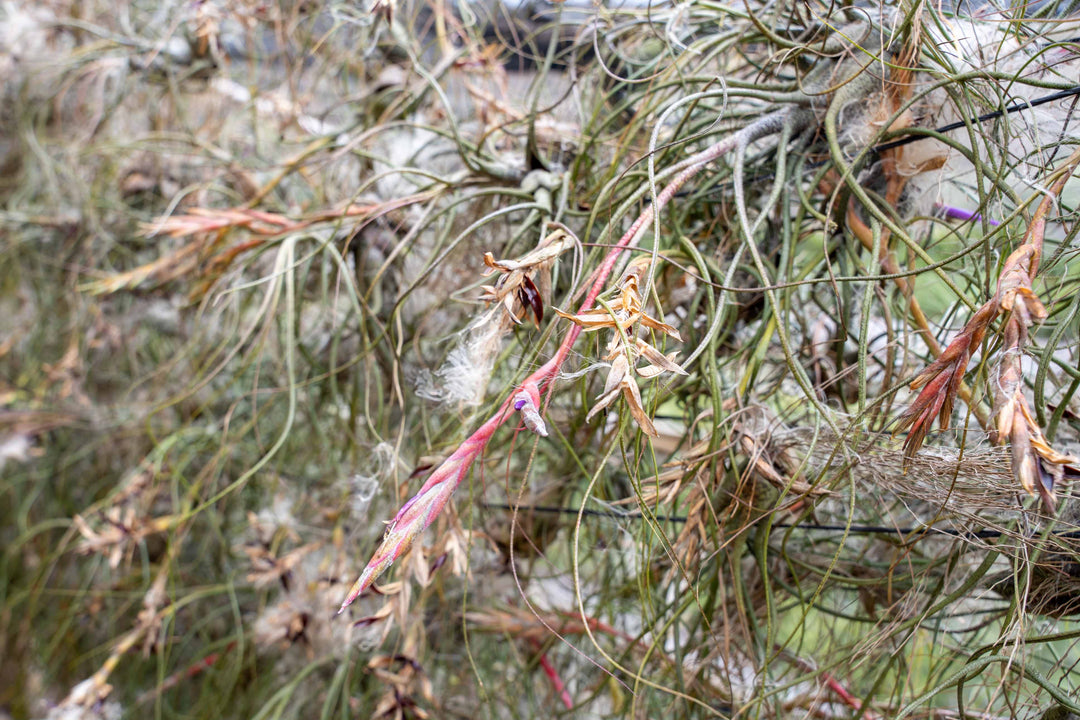
If properly pollinated, air plants will produce seed after blooming. The seed capsules form out of the bases of the old flower petals. The seeds form in tufts of cotton-like material. This material is meant to be carried by the wind to different trees, branches or even cliff faces. Germinated seedlings are extremely delicate and indistinguishable from other air plant species until they are about two years old.
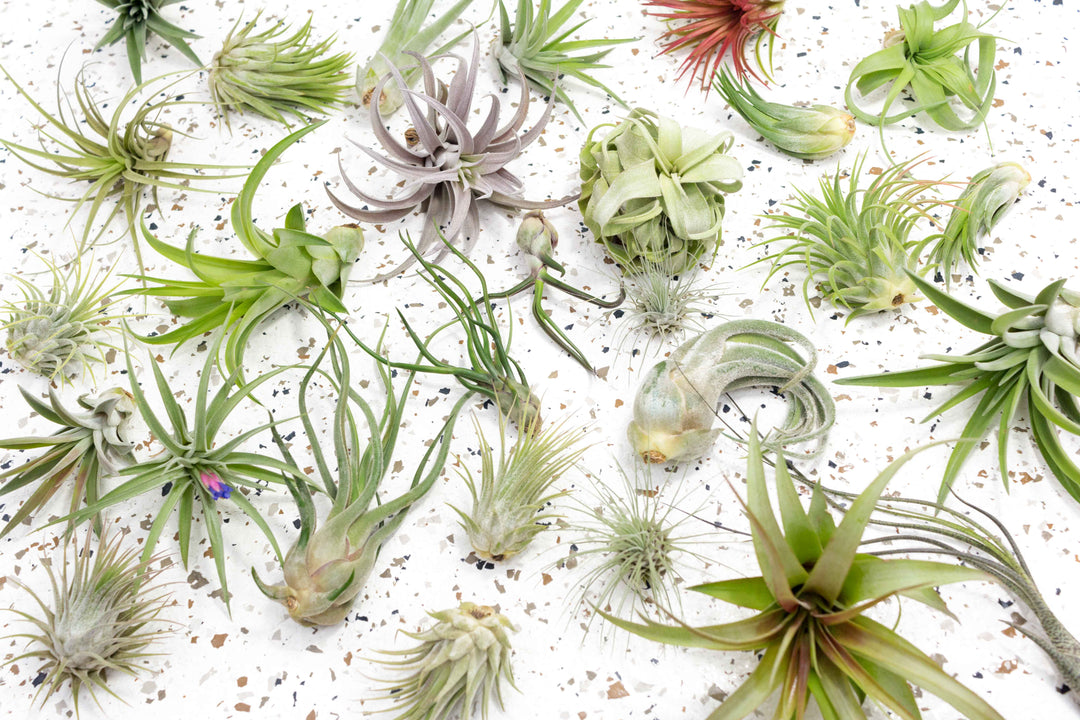
There are two ways that air plants reproduce. Air plants germinated by seeds are from a-sexual reproduction. The genetic makeup of the plant is from two parent plants. However, air plants also produce offsets, known better as "pups", after blooming. These are genetically identical to the mother plant. Most people will encounter pups while working with Tillandsia, as germination of the seeds outside of nature or a nursery environment is rare. The air plant mother will go on to produce 2-8 pups in their lifetime before passing away.
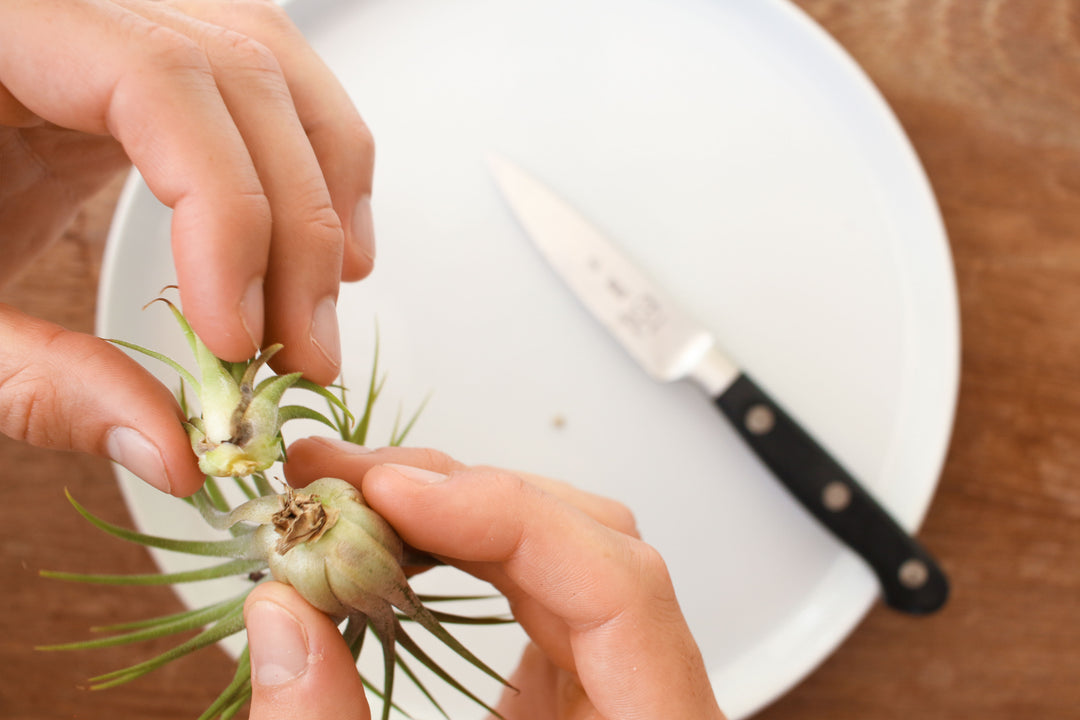
To remove the pups, they should be at least 1/3 to 1/2 the size of the mother plant. Hold both mother and pup at their bases and gently twist in a downward motion. If this does not happen easily, you may need to remove the pup by cutting downward as close to the mother as possible. Do not discard the mother plant yet, as long as she is still alive she will continue to produce more pups! Often taking several years after blooming before she finally dies. Learn about about separating pups on our blog, How to Propagate and Cultivate Your Plants.
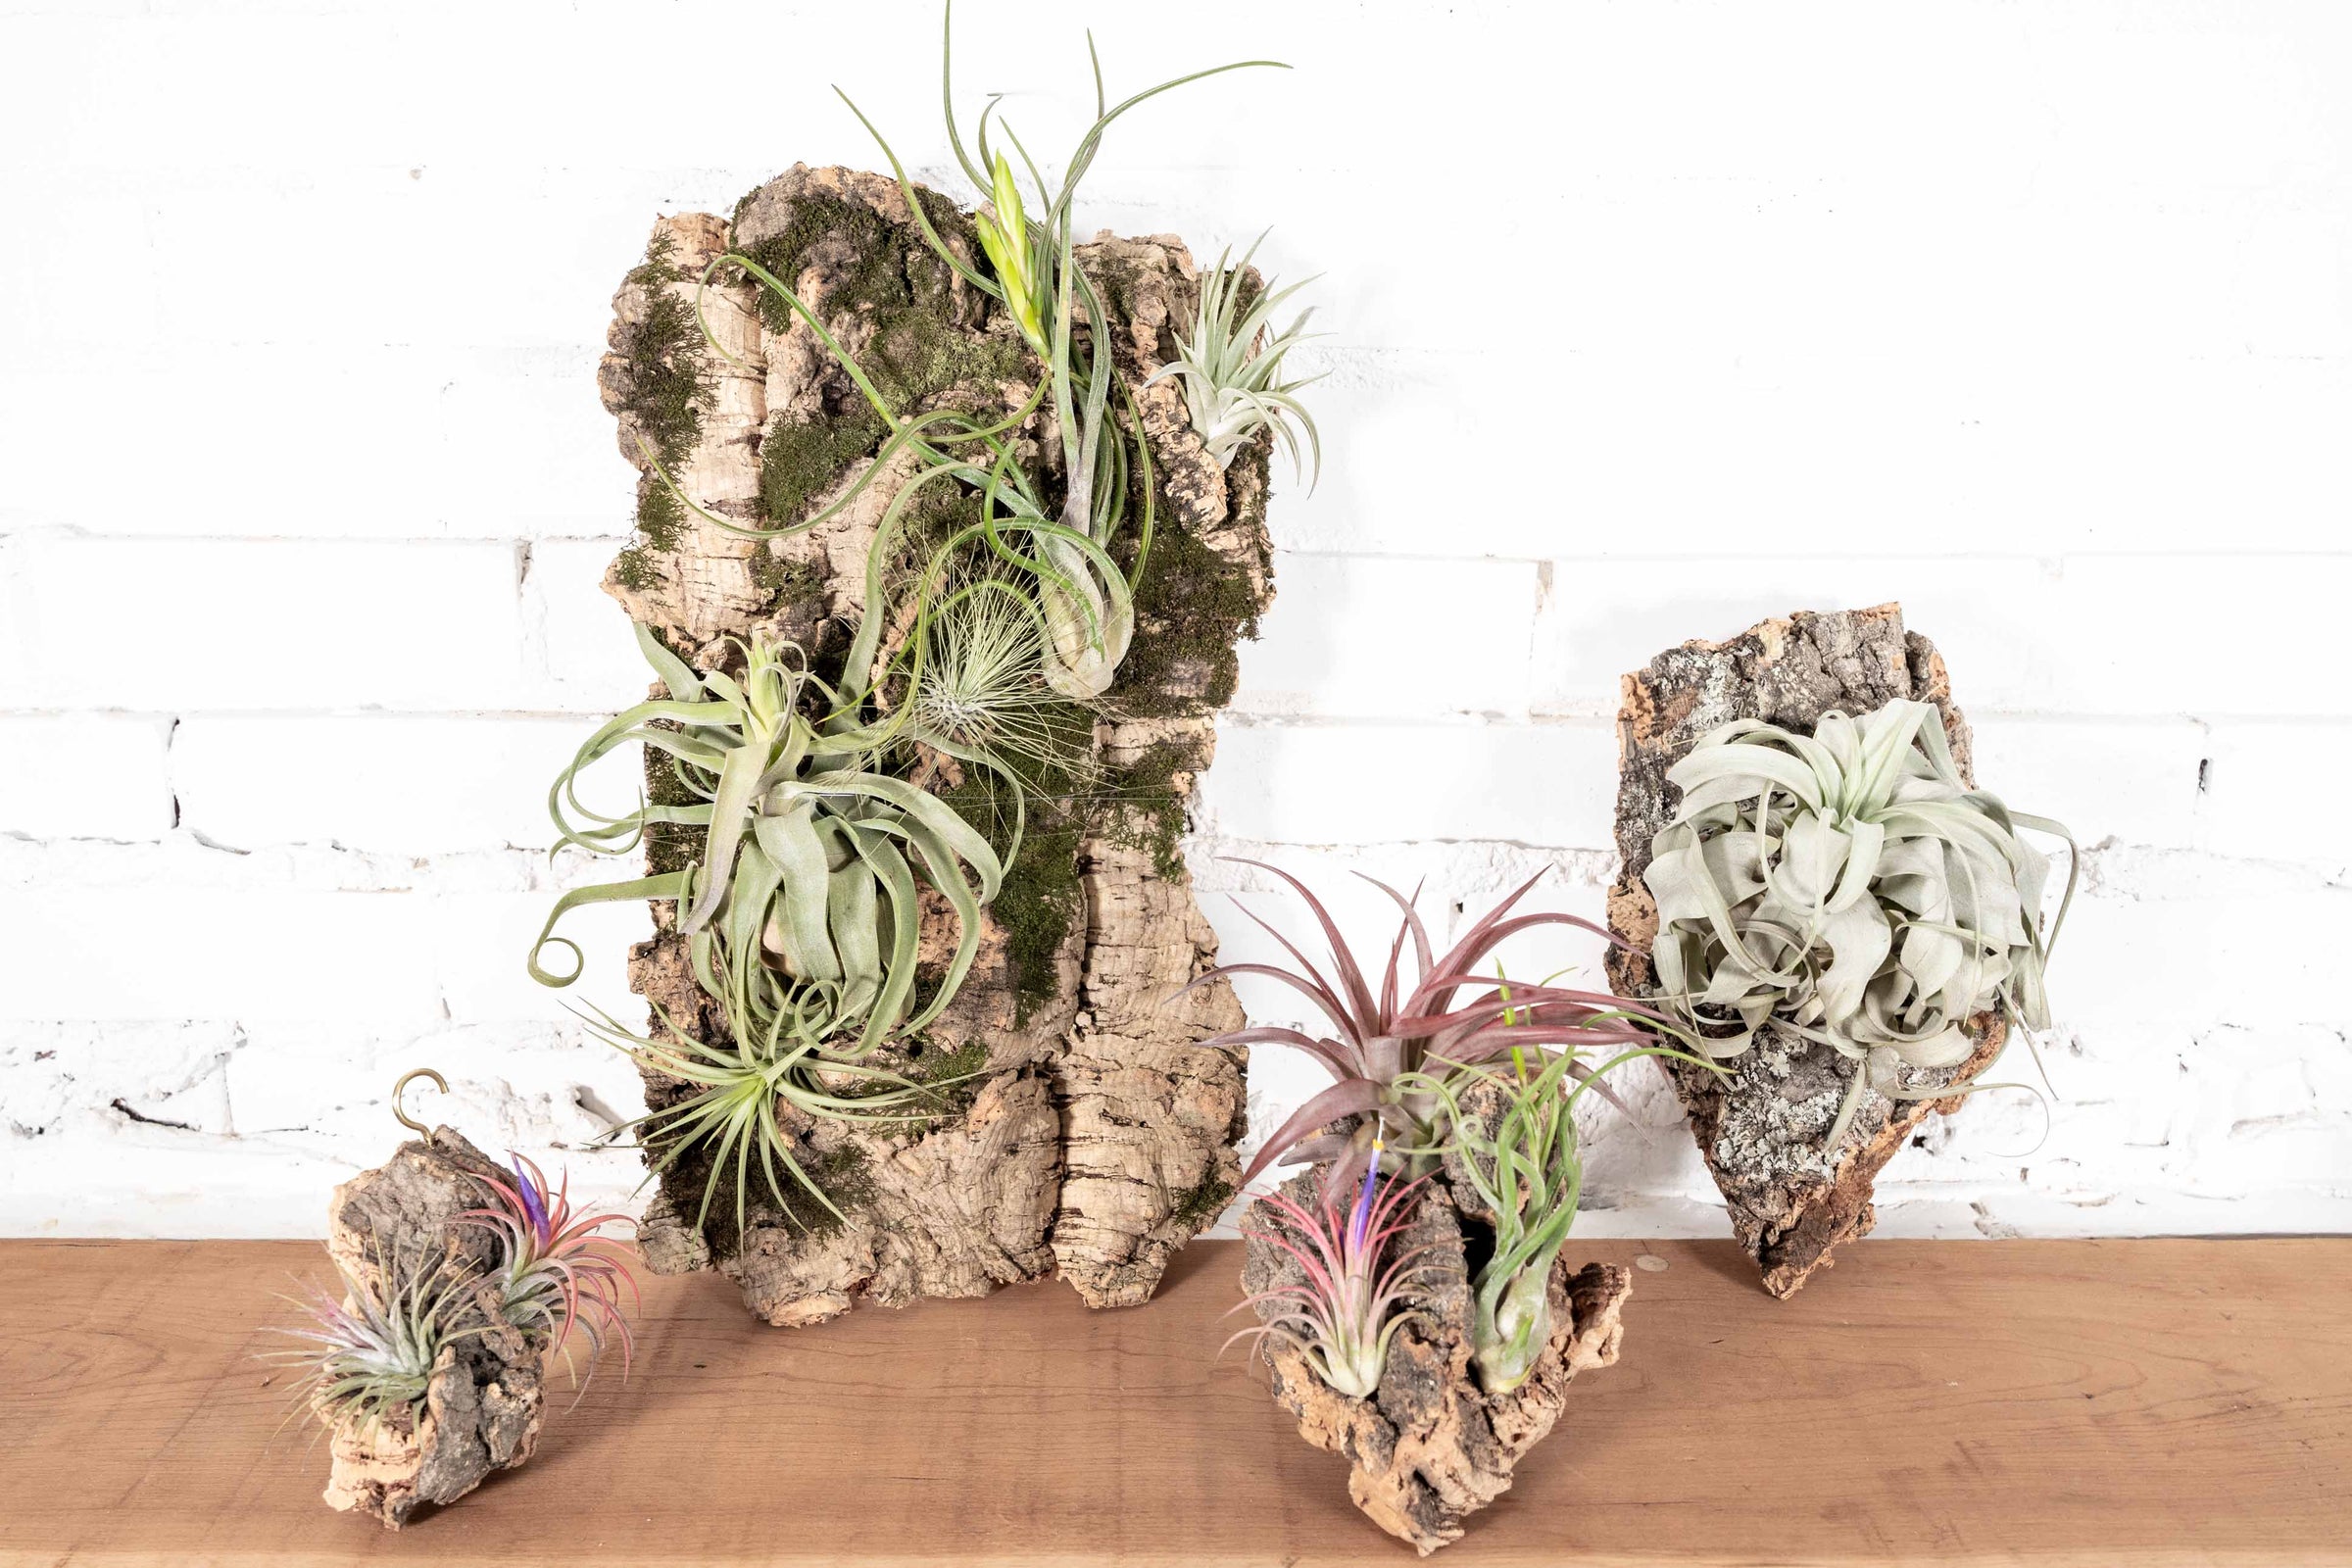
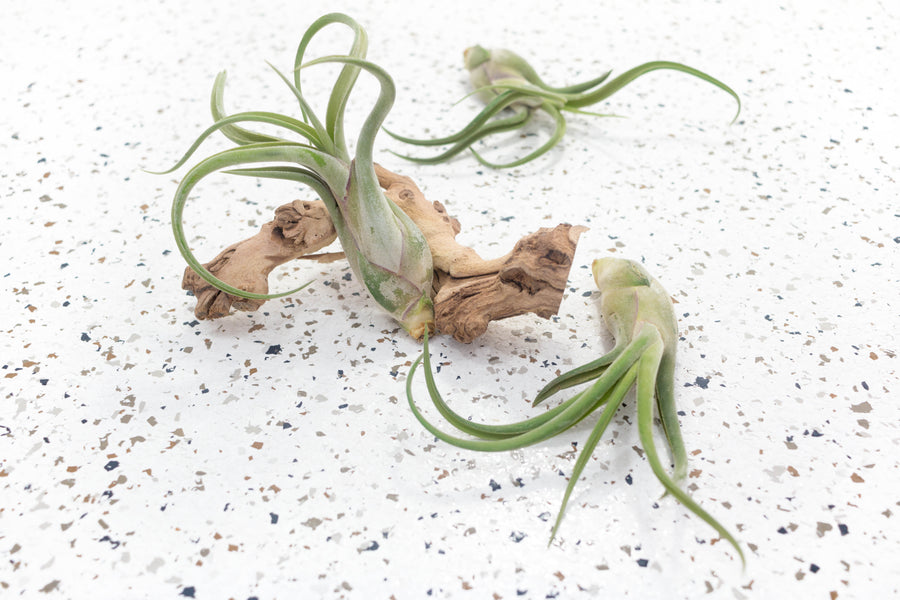
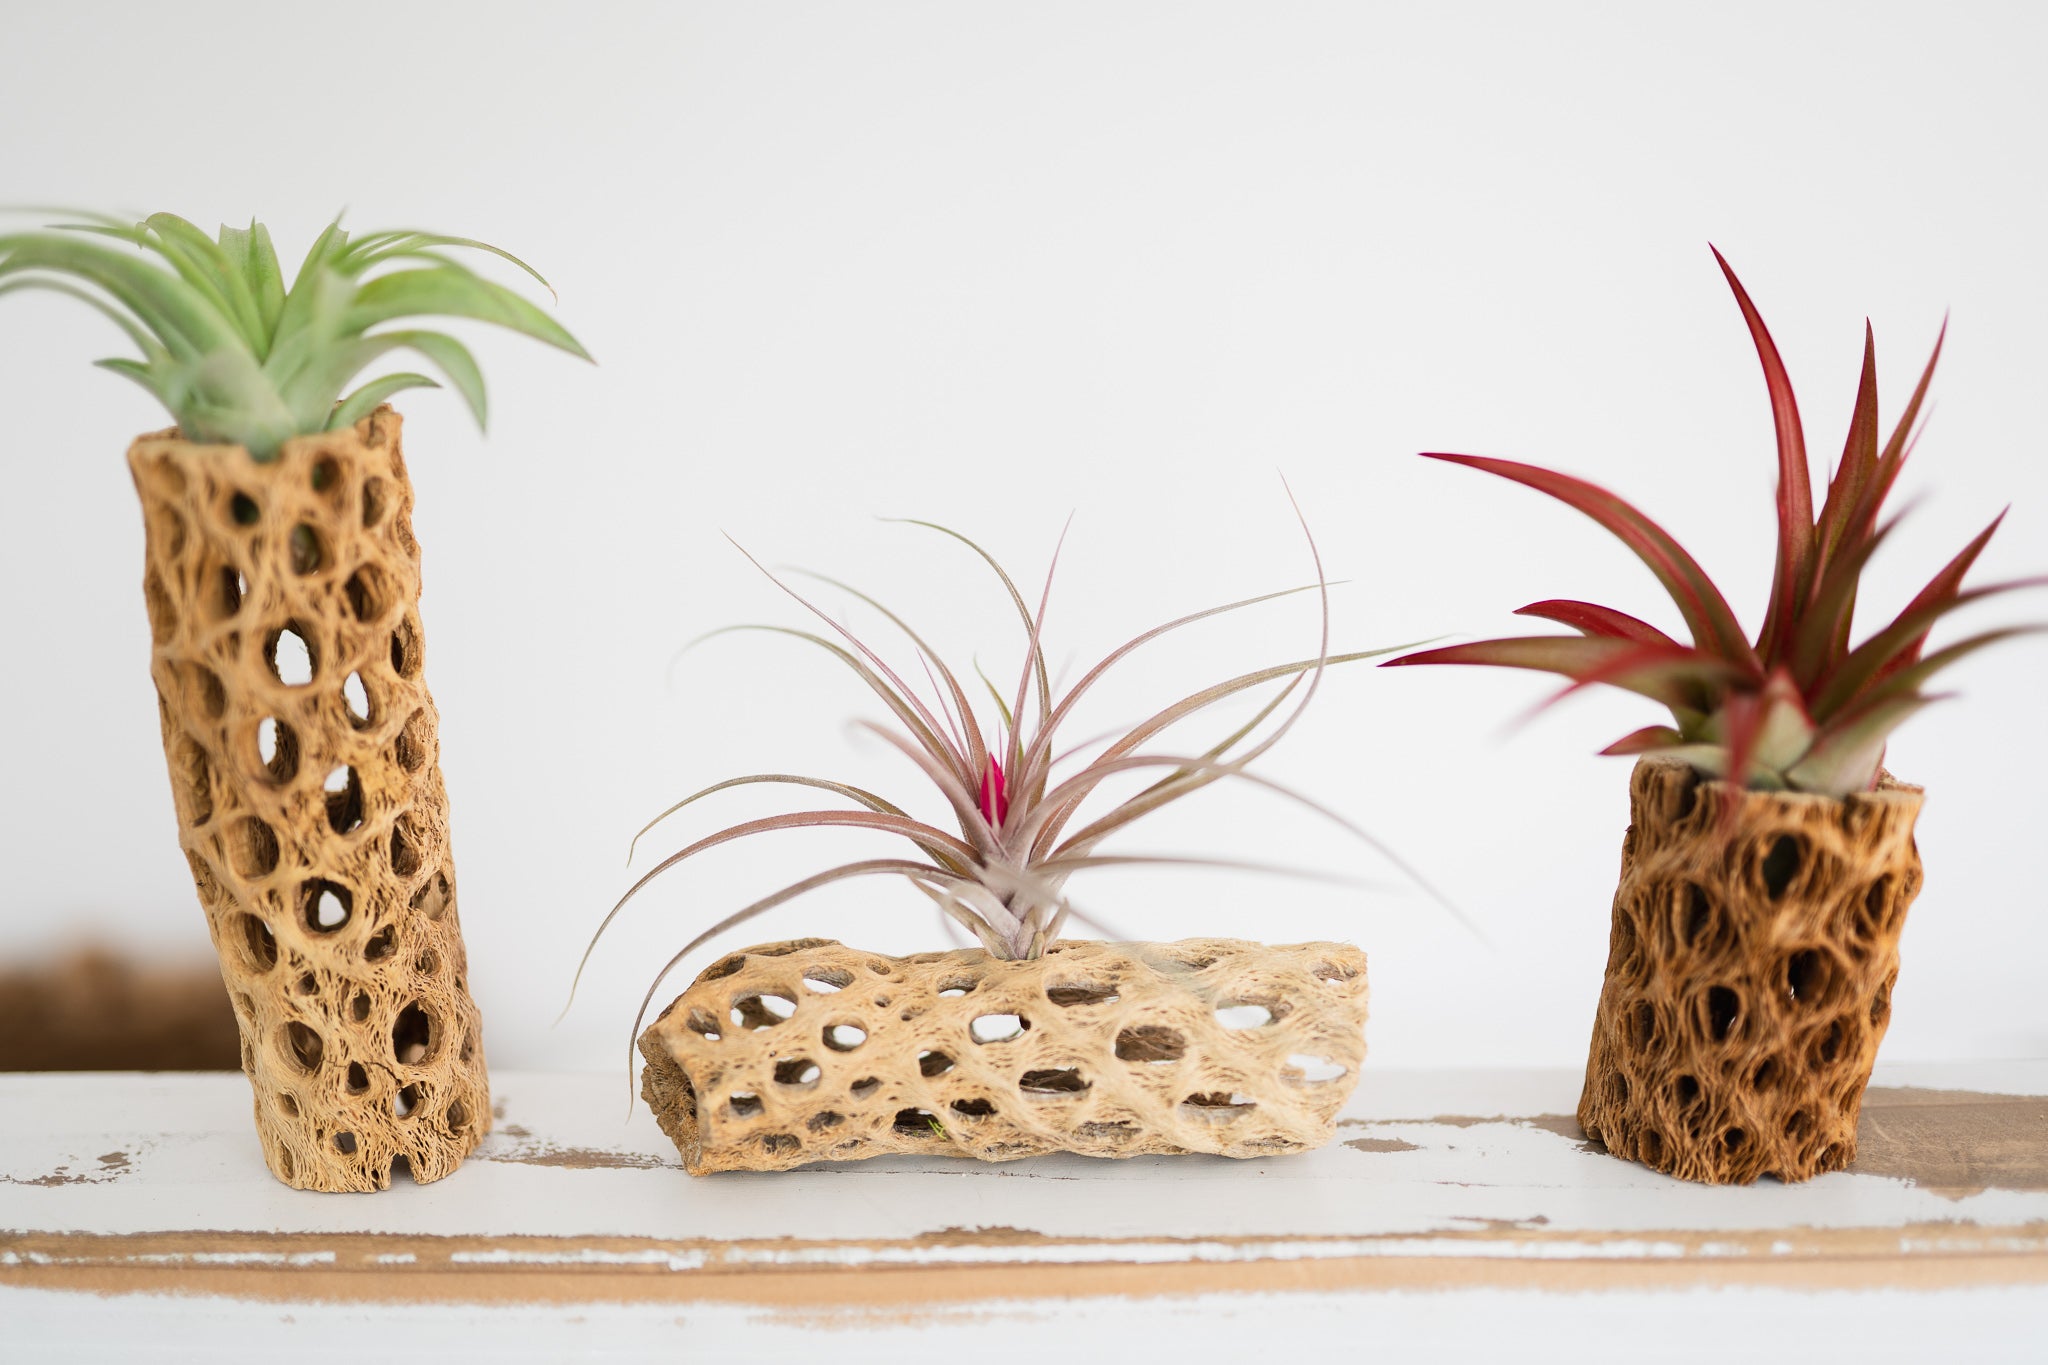
Easy-Care Cork Bark Displays with Air Plants
Our cork bark hangers come with the plants that are the easiest to care for! You'll love your new air plant displays.
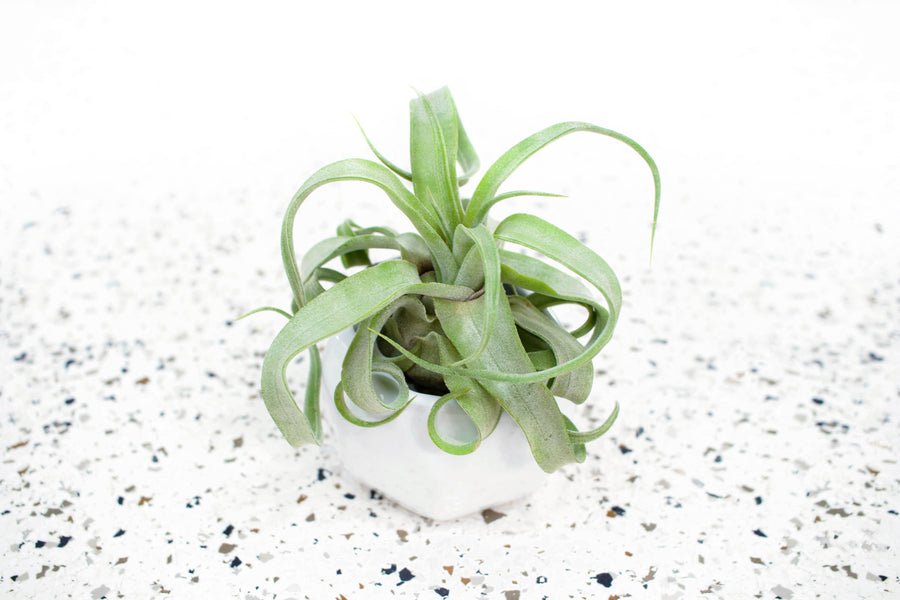
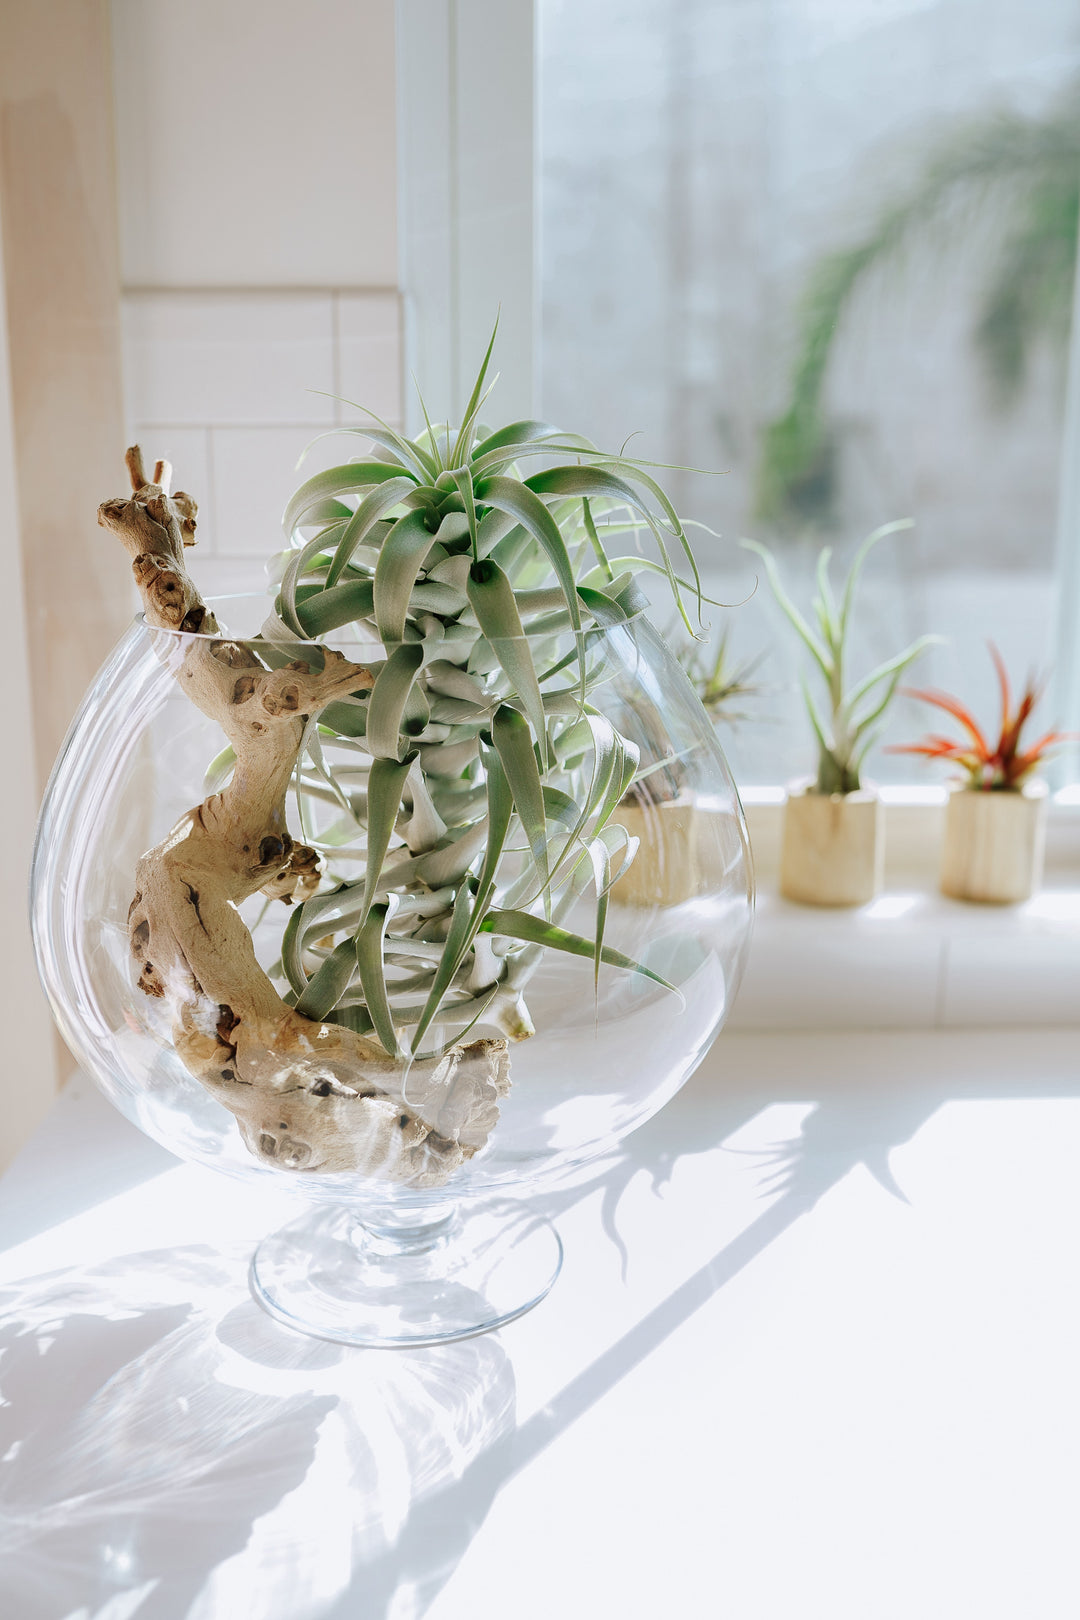
Tillandsia can be grown basically anywhere, on rocks, in a seashell or on coral, in ceramic or pottery, attached to wood! Avoid pressure treated lumber that is impregnated with copper. When considering what you are going to do with your plants, don't forget that you have to be able to water them and they have to be placed somewhere that receives sufficient light.
Try not to put Tillandsia in containers that hold water, they need to dry out. If you do place your plant in something that holds water, empty out the excess after watering your plant. The same applies when mounting your plant. Do not surround your plant with moss as it will hold too much water and will rot the plant.
You can use glue, wire, fishing line, twist ties, nails or staples. Nails and staples can only be used on plants with a woody stolon or with sufficient roots. Do not staple your plant on its fleshy parts as it will kill it! Try to use a waterproof glue such as E-6000 or hot glue, allowing the glue to cool for 5 seconds. Do not not use superglue or copper wire as these will kill your plant!
Read the most popular air plant care guide worldwide. With decades of expereince, we will assure that your collection thrives!
Save up to 15% with our automatic wholesale discounts. Mix and match for instant savings on orders over $250.
Shop our assortment of terrarium glass, wood containers, ceramic and cork! Each pairs lovely with our air plant selection.
✓ No business license required
✓ Order online with low minimums
✓ Automatic discounts up to 15% when you spend $250, $500 or $1000+
✓ Free shipping when you spend $75